Introduction
The grand climax of a long-growing process, harvesting cannabis, is when patience and care pay off in the shape of lovely, scented buds and then big cannabis yields. To maximize your plants, regardless of expertise level, knowledge of the nuances of harvesting is quite essential.
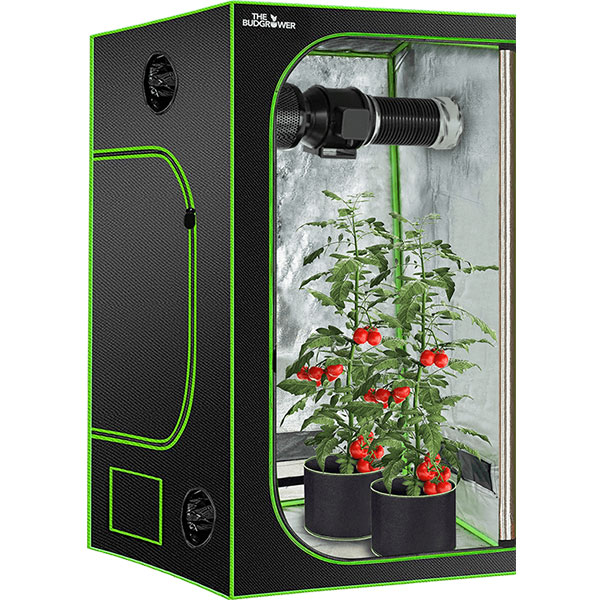
Timing, skill, the right tools like home grow tents, the best soil nutrients, and attention to detail may make all the difference between a decent and a superb harvest.
Every day as your plants grow gets you closer to the ideal harvest time. Selecting your cannabis buds at just the right moment guarantees you fully capture the flavor and strength of your strain. But the trip doesn’t stop with chopping your plants; the essence of your cannabis is preserved in significant part by drying and curing.
Having a full command of these tricks and techniques will definitely help you create a better product that reflects the hard work you have put into your growth. If you are a cannabis enthusiast, you might be looking for the best to-the-point guide that will help you start right away!
In this guide, you will learn everything you need to do to grow cannabis at home like an expert!
Timing to Harvest:
Maximizing the tastes and effects of your cannabis depends on getting the timing just right. Harvest too soon, and you will find weak, flavorless buds. Wait too long, and THC levels might deteriorate, therefore compromising the whole experience. Making all the difference is knowing when your plant is ready for harvest.
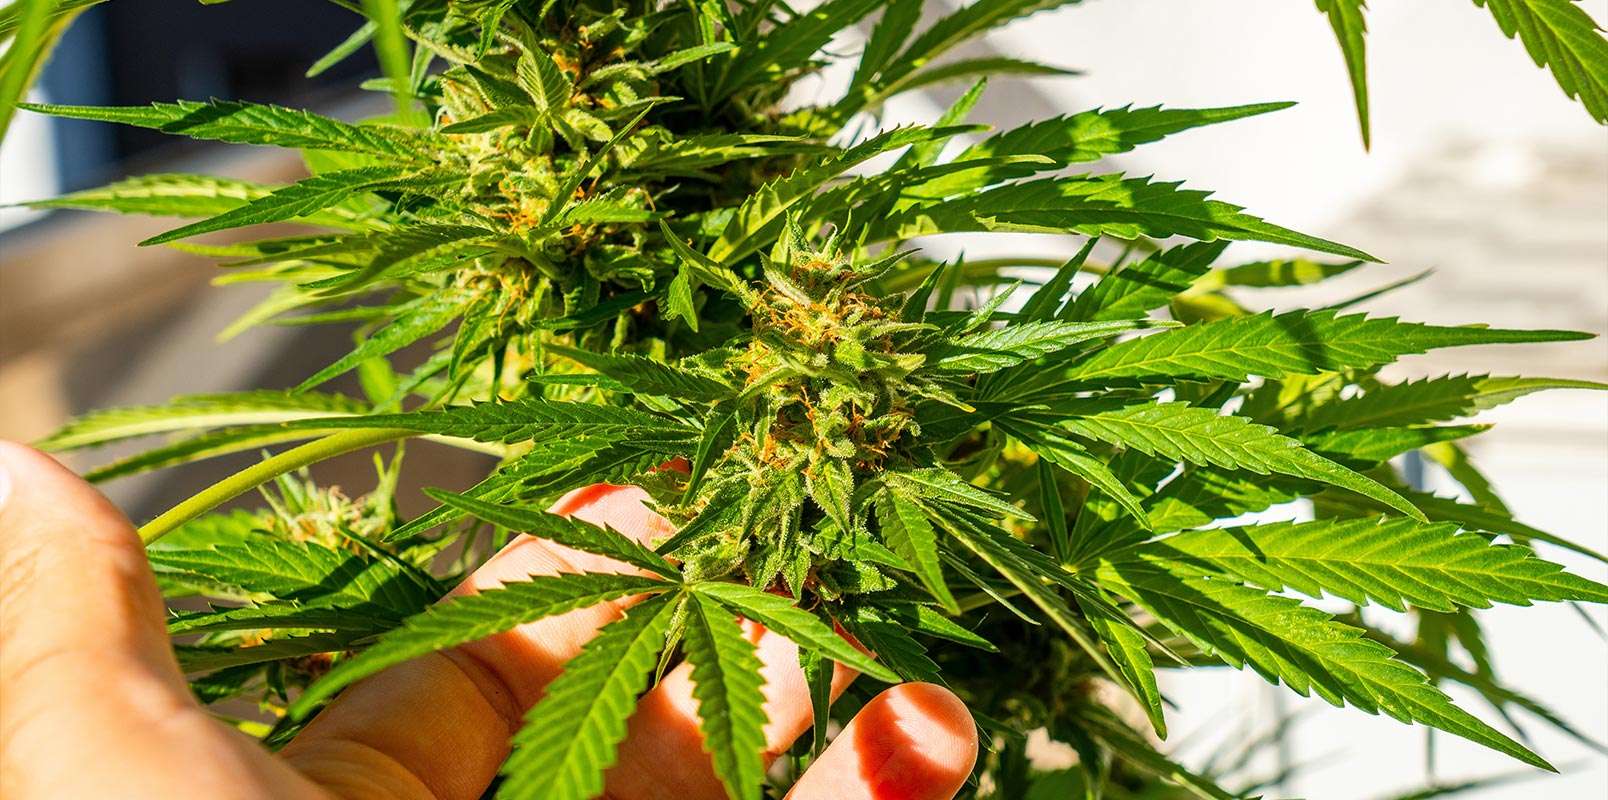
The main markers of preparation are the small sticky glands called trichomes coating the buds. These trichomes alter clearly over the plant’s lifetime.
First clear, they progressively become milky white, indicating maximum THC concentration. They could finally turn amber, suggesting a change toward more sedative effects from CBN, a breakdown product of THC.
To strike a blend between potency and effects, most growers want milky mixed with some amber trichomes.
Apart from trichomes, pistils also provide another indication of development. As the plant ages, these hair-like structures change from white to orange or brown.
Usually, it means the plant is ready for harvesting when roughly 70–90% of the pistils have changed color. However, depending on the pistils, it might be deceiving, so a more accurate approach to estimate harvest time is to mix trichome observation with pistil color.
Preparation to Harvest
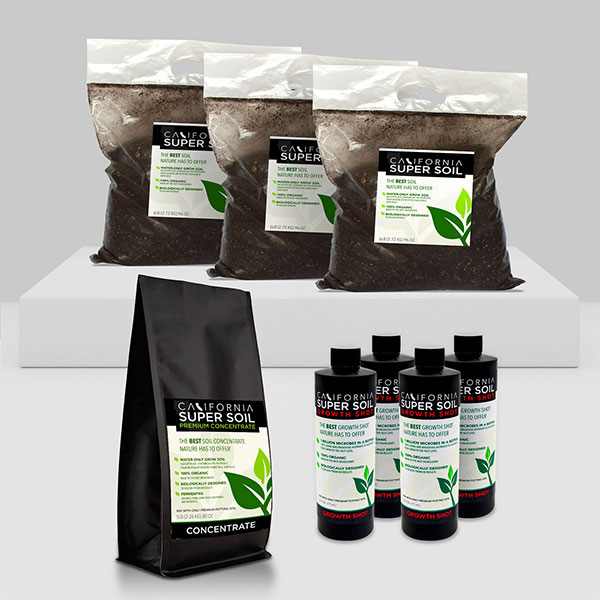
Like timing, preparation is absolutely vital. The correct tools, like home growing kits and the best Cali Super Soil, along with the surroundings, will enable you to simplify the task and improve the quality of your output.
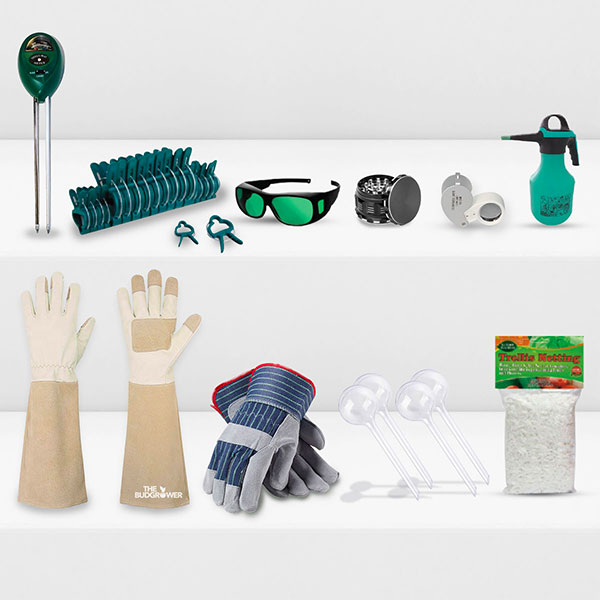
Among the necessary instruments are sharp pruning shears for precise cuttings, gloves to protect your hands from sticky resin, and a magnifying glass or jeweler’s loupe to examine trichomes closely.
Maintaining a clean and well-organized workstation prevents contamination and enhances the operation’s efficiency. Flushing your plants is vital before the harvest. About two weeks before harvest, flushing is watering your plants with clear water devoid of nutrients.
This process helps remove any remaining nutrients from the ground, ultimately improving the flavor of the buds when consumed. Without flushing, more fertilizers might cause the buds to taste unpleasantly harsh.
Techniques
When trimming your plants, you have a variety of options. When harvesting the plant, some growers prefer to cut it at the base and harvest the entire plant at once. This time-honored technique ensures an equal drying process, but it needs a larger environment.
If you have limited space for drying or want more control, you may cut your plants branch by branch.
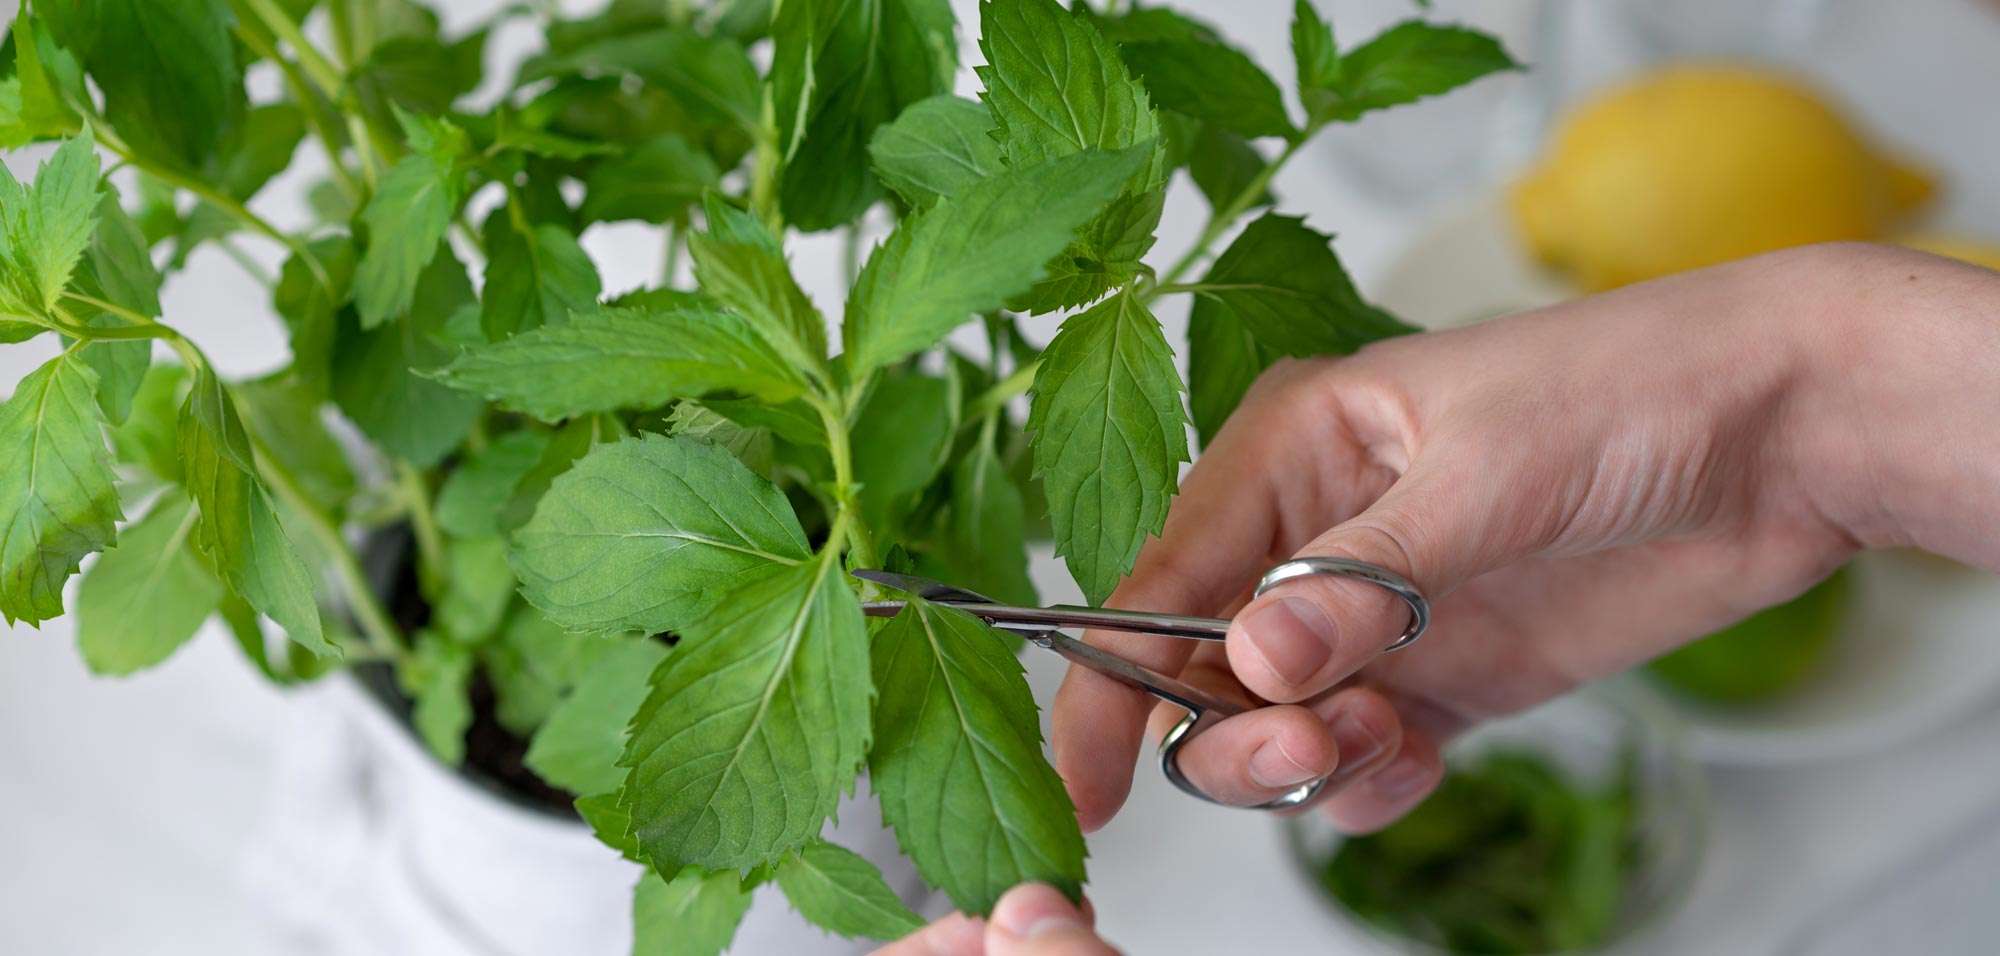
In addition, you may stagger the harvest using this strategy if certain branches mature quicker than others. Your buds should be trimmed since this is a critical stage that affects both their look and their drying. Wet trimming, which entails removing superfluous leaves immediately after cutting the plant, can hasten the drying process.
Dry trimming, on the other hand, refers to the practice of letting the plant dry out before pruning. This approach can improve the flavor and perfume of the buds; however, it is more difficult to implement owing to the sticky nature of the dried resin.
Drying your Cannabis
The strength and flavor of your cannabis depend on proper drying. Hang the branches upside down in a well-ventilated dark area. Terpenes and cannabinoids, which are sensitive to light and heat, are prevented from degrading due to actions like these.
Some of the very important points are as follows that you must remember:
- Temperature: Aim for between 60 and 70°F.
- Humidity: Keep levels between 45 and 55 percent.
- Ventilation: Good ventilation will help you to prevent mold.
- Darkness: Guard against light to maintain integrity.
Usually, depending on the surroundings, the drying process takes 7 to 10 days. Bend a little branch to see whether your buds are dry enough:
- Snap Test: If the buds snap cleanly, they’re ready.
- Flex Test: They require extra time to dry if it bend without breaking.
According to the findings of the research, these criteria will ensure that your cannabis product maintains its optimal potency and flavor.
Curing for Quality
The last stage in the cannabis harvesting process, curing, guarantees that your buds get their full taste and power. To start the curing process, dry the buds, then pack them in sealed glass jars. This stage lets terpenes and cannabis develop, improving their flavor and scent.
To keep freshness, fill glass jars about 75% full to let some ventilation and close them tightly. According to research, curing at the right humidity and temperature significantly improves quality.
This protects against mold and encourages even curing. It is advised to cure for a minimum of two to four weeks. The longer the curing, the smoother and more delicious the buds will be.
Correct curing breaks down chlorophyll, thereby enhancing flavor and lessening harshness. It also lets THC completely activate, therefore optimizing the results and extending the shelf life.
Correctly cured cannabis keeps quality over months of storage. Aim for 58–62% relative humidity within the jars to succeed, then use humidity packs to keep levels constant. To preserve potency, keep jars cold and dark.
The longer you cure, the better the results; some aficionados cure for up to six months for superior quality. Investing time in curing guarantees that your cannabis tastes and smells nicer and offers the intended effects. Four weeks for the best possible outcomes. A longer curing time results in a more refined taste and smoother texture.
Avoiding Common Mistakes
There are some common faults to be cautious of abound during the harvesting process when you grow weed at home. Rushing through drying and curing might produce poor-quality buds, so patience is absolutely essential. Insufficient storage can reduce potency and taste; examples of this include exposing cured buds to heat and light.
Using hygienic tools and keeping your surroundings neat can also help prevent mold and other pollutants from damaging your crop.
Another frequent error is not closely watching humidity levels. While too little moisture may over-dry the buds, diminishing their strength and flavor, too much moisture in the jars might cause mold. Small humidity packs can assist you in preserving the perfect climate within your jars throughout curing.
Here are some quick tips:
- Observe Trichomes: Use a jeweler’s loupe to inspect the trichome color.
- Flushing: Only use water for two weeks before harvest.
- Conditions for Drying: Make sure it is dark, cold, and has good ventilation.
- Curing Time: For optimal results, allow at least 2-4 weeks.
Final Words
Growing cannabis at home is a difficult process that requires accuracy, patience, and attention to detail. If you wish to get the best potential quality of your harvest, you must pay great attention to the scheduling, preparation, and post-harvest treatment of your crops.
Each stage is given significant importance, from choosing the best super soil to observing trichomes and pistils and continuing through pruning and curing.
By constant practice and meticulous attention to detail, you will finally be able to enjoy the rewards of a crop that exactly reflects the time and effort you have invested. Therefore, make the most of the voyage, fully appreciate the experience, and, most importantly, take pleasure in the results of your hard work.
Wishing you a bountiful harvest!
FAQs
How do I know when to harvest my cannabis plant?
View the pistils and trichomes. Pistils should be 70–90% brown; trichomes should be mostly milky with some amber.
What’s the difference between wet and dry trimming?
Dry trimming comes after the plant has dried, and wet trimming removes leaves immediately following cutting.
Why is curing important?
Proper Curing improves the flavor, aroma, and smoothness of your cannabis by allowing preferences to emerge ultimately.
How long should I cure my cannabis?
Though prolonged curing can improve flavor and strength, curing is preferable for at least two to four weeks.
What’s the best way to store dried cannabis?
Maintain potency and taste, and store it in sealed glass jars away from light and heat.