With indoor gardens becoming a trend, plant growth techniques and tools are advancing. Indoor gardening benefits regions with extreme climate effects because it helps the plants grow without depending on natural conditions.
So, many growers now prefer indoor cultivation over outdoor plantations.
However, growing indoor plants still requires many factors, including light, temperature, humidity, and nutrient sources, which are needed as per the plants’ requirements.
Indoor tent setups are a great way to meet these requirements.
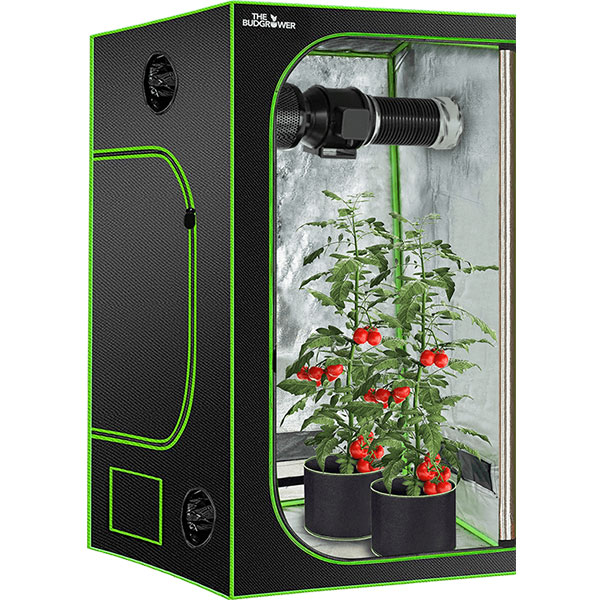
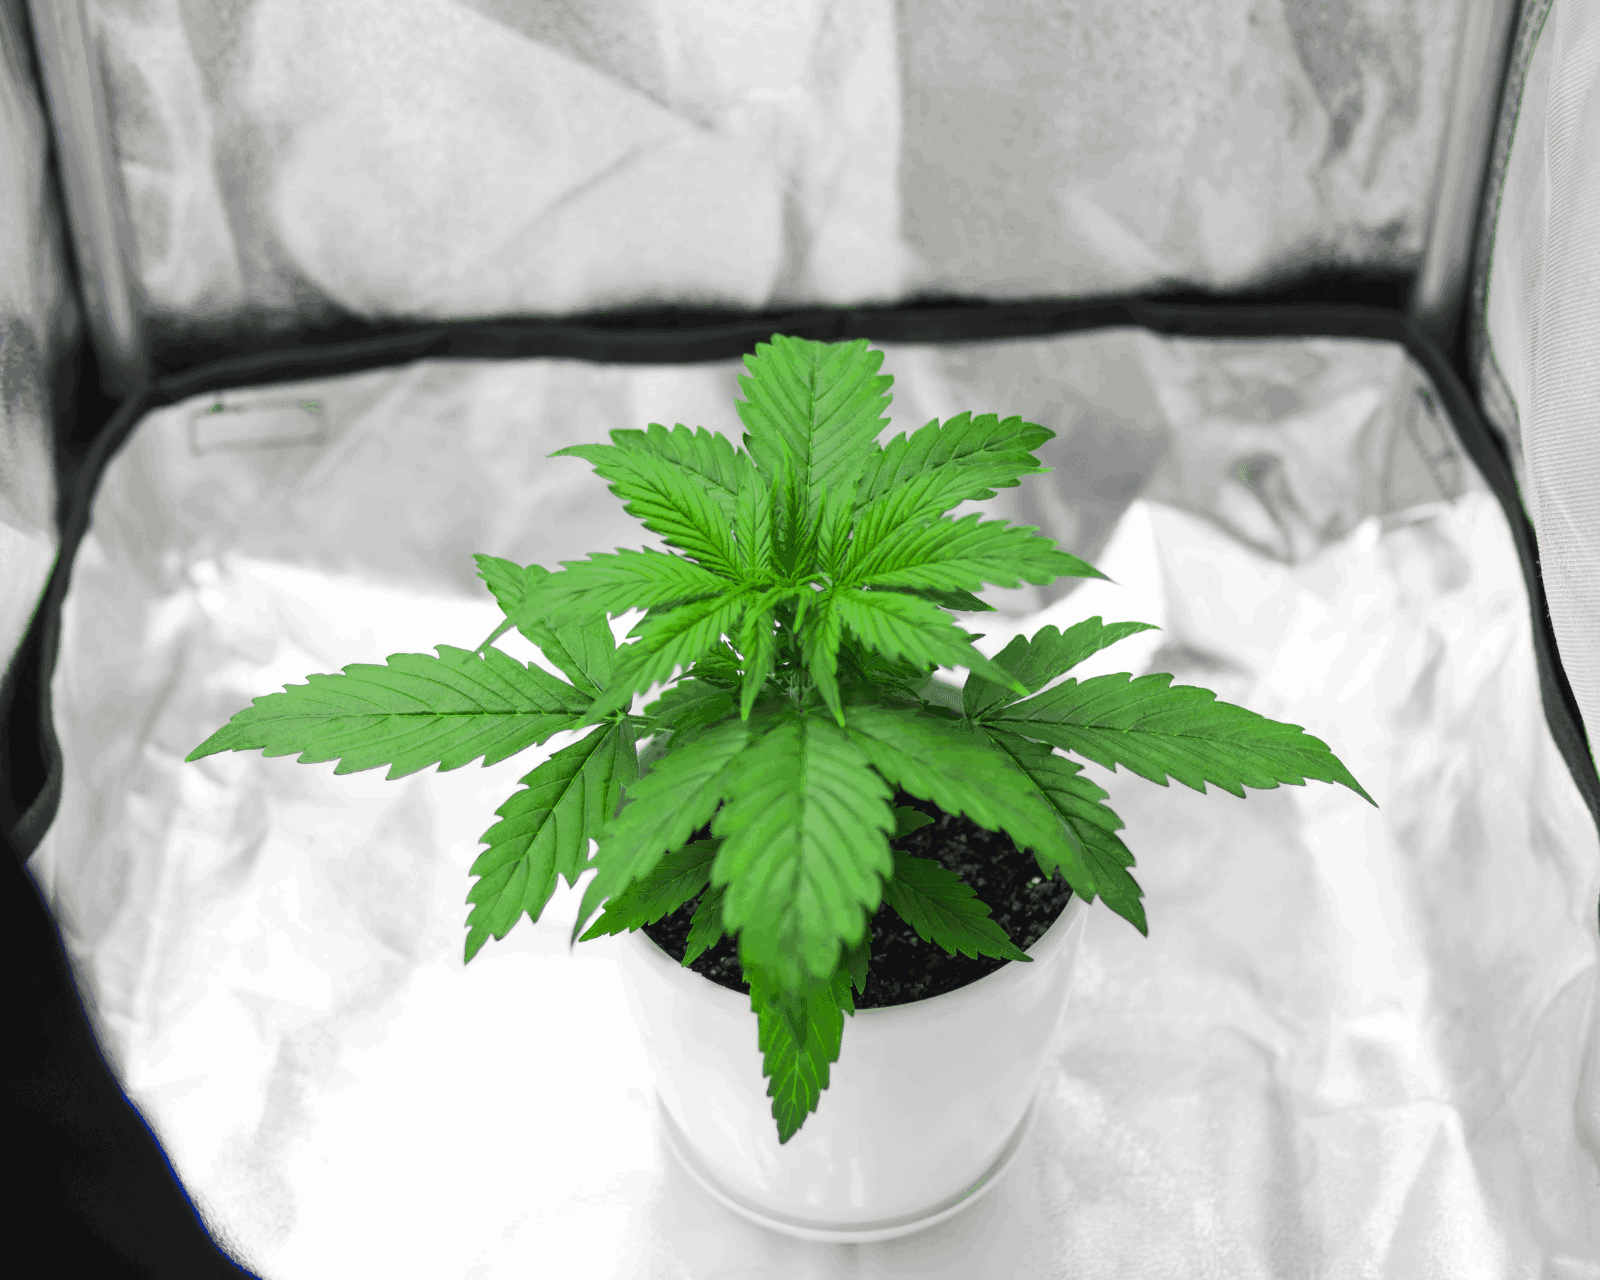
The complete indoor grow tent kit makes these tents easy to use. They are like mini-greenhouses, providing the optimal environmental conditions for growing plants.
Here’s a beginner’s guide on setting up these tents and all the necessary information.
Why Do You Need a Grow Tent Setup?
Indoor plant growth is almost impossible without using a tent. No matter what the number or type of plants you are growing. You have to use a complete grow tent because you need:
- To control the environmental conditions (temperature, humidity, etc.)
- To provide optimal light to plants, as there will be no sunlight
- To protect the plants from pests and bugs
 What are the Benefits of Using Tents?
Using tents can be very beneficial for plant growth and yield. By using tents, nurserymen can enjoy benefits not limited to but include:
Convenience
These are very easy and portable to use.
Healthy Plant Growth
With a controlled and optimal environment, your plants will grow healthier.
No Special Space is Needed
You do not need any special space to set up a growth tent for your plants. You can use any available space or corner in your house.
Non-Seasonal Cultivation
With tents, you can grow plants (such as vegetables, fruits, or cannabis) every season, regardless of the outside climate conditions.
Protection Against Diseases
Your plants in the tent will no longer be prone to diseases and pests.
Factors to Consider Before Selecting the Right Tent Setup
You must consider some factors because only some tents best suit your needs. You should consider the following factors while choosing a tent:
- Always go for a durable tent. You have to check for the quality of the material, whether it is canvas or something else; it must be of good quality.
- You should consider the size of your tent beforehand because these tents come in different sizes. If you want to grow 2-3 plants, use small tents; if you are a commercial grower, you should go for bigger sizes.
What Does a Complete Grow Tent Kit Include?
Complete grow kits are available on the market, including all the equipment needed to set up the tent.
Some growers prefer to buy individual items and assemble them to make the setup. Generally, the full kits include:
- A tent
- Grow lights
- Heating or cooling system
- Ventilation & air circulation system (Intake and exhaust fans)
- Tent fan setup
- Carbon filters
- Timer
- Hangers
- Ducting wires
- Thermometer & hygrometer
 Guide to Grow Tent Setup
You will receive an instructions manual with your tent kit. The manual includes a tent setup diagram, which can be especially helpful. But here is a guide, including all the steps you must follow.
Before stepping into the technical procedure, ensure that the space you will set your tent is clean and clutter-free.
1. Assembling the Tent
First, you have to assemble the tent. It comes with frames and a canvas, so you must join them together. Set a strong base with the given frames, then carefully place the canvas.
Pay attention to the strength of the tent’s ceiling, as you will hang your equipment there; it should not fall out.
2. Setting Up the Ventilation System
The tent has to be in an optimal environment with air circulation. The air has to be cross-ventilated (fresh air in and old air out) to promote the healthy growth of plants.
Therefore, the second step is setting up the intake and exhaust fans. Their position depends on the size of the tent. For smaller tents, they can be set up outside.
For tents with good height and space, they can be placed inside. Exhaust fans are mostly placed at the tent’s ceiling to pass old air out.
3. Setting Up Carbon Filters
This step is interlinked with step 2. The ventilation system mainly uses carbon filters to remove dust particles from the air. It also comes with a dust sock to increase its efficiency.
The system also has fans and a ducting system to maintain the tent’s internal environment.
4. Light Hanging Setup
This step is crucial in selecting a suitable grow light and the position of the lights. Different plants require different light intensities, so you must check which light type best suits your plants.
The light is generally hung using hangers in the middle of the tent. But you can adjust their position using a pulley per your plants’ requirements.
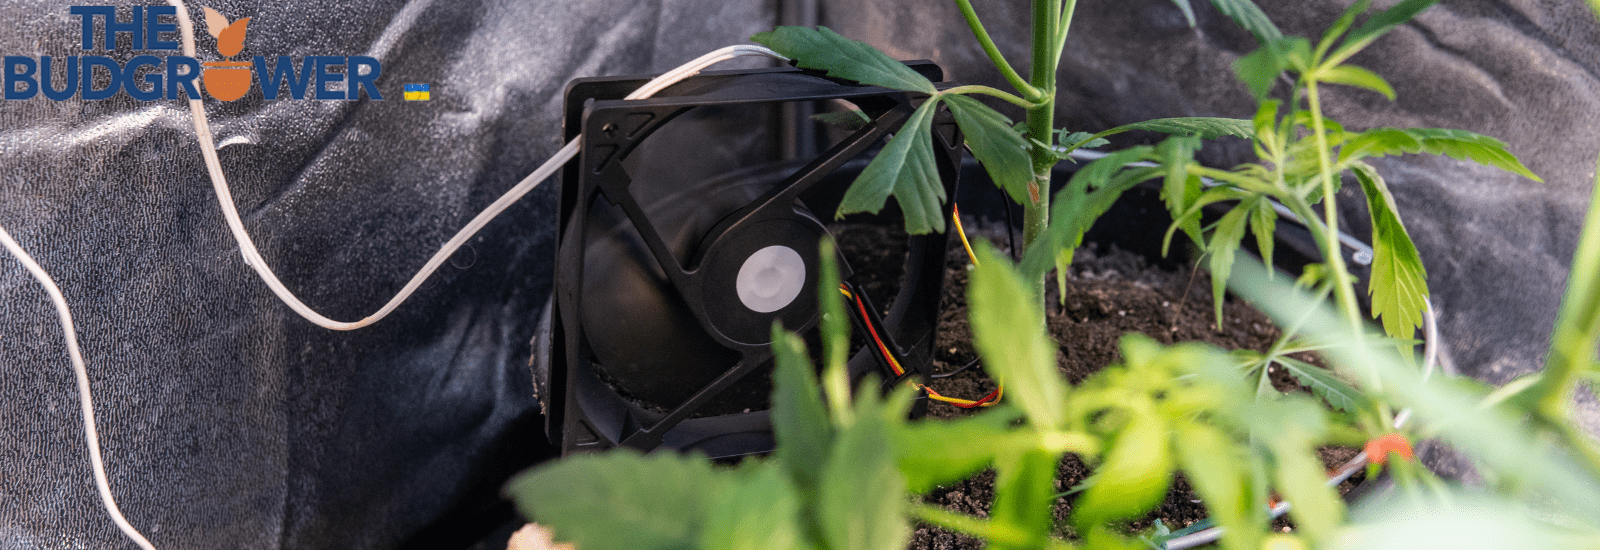
5. Grow Tent Fan Setup
If you have a giant tent and enough space, an internal tent fan is recommended to help with air movement within the tent. This will help control humidity and prevent pests from spreading to plants.
6. Installing the Timer
Different plants have different requirements for light and air periods, so timers must be installed. The timers will help automate the duration of lights and fan functions.
7. Placing a Thermometer and Hygrometer
You must place thermometers and hygrometers to monitor the temperature and humidity levels inside the tent.
There is no rule of thumb for where to put them; you can put them at different sites within the tent.
Conclusion
Grow tent setups are now standard in the field of in-house gardening. The kit has made it easy for growers to set up the system. With your complete kit for growth tent setup, you can control temperature, humidity, air circulation, and dust control, providing the ideal conditions for your plants to grow. You are now good to go. Happy indoor growing!

