Benefits of Plant Cloning
The following are the various benefits of plant cloning:
- The plants are produced of equal quality after cloning. They have the same traits and are identical to the mother plant.
- The more the speed of harvesting, the faster the cloning of plants.
- After cloning a plant, one can easily predict the traits of a grown plant.
- You can constantly check the results of cloning.
 Best Plants for Cloning
The following are the few best plants to clone:
- Lavender
- Herbs
- Rosemary
- Basil
- Mint
- Thyme
- Sage
Cloning Your Topped Plant
What You Will Need for Cloning a Topped Plant
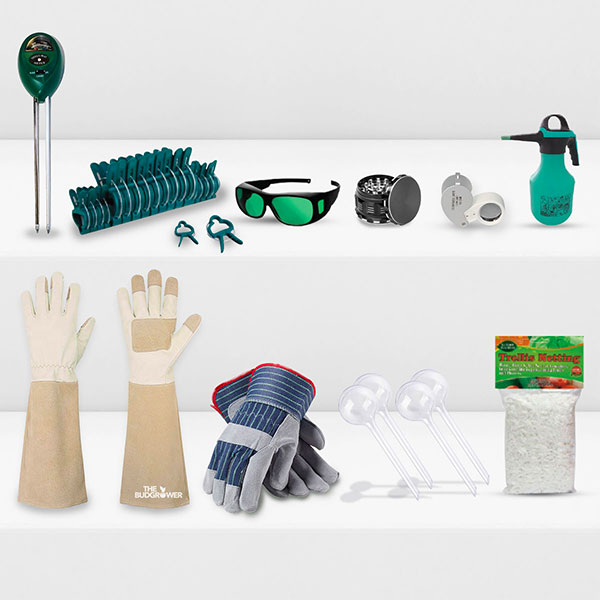
To get the process started, you’ll need the following:
- Trimmers
- Germination dome
- Isopropyl alcohol
- Rockwool
- Lights
- Cloning Formula / 100% Honey
Good thing The Budgrower has all of these in each kit!
 Step 1: Trimming
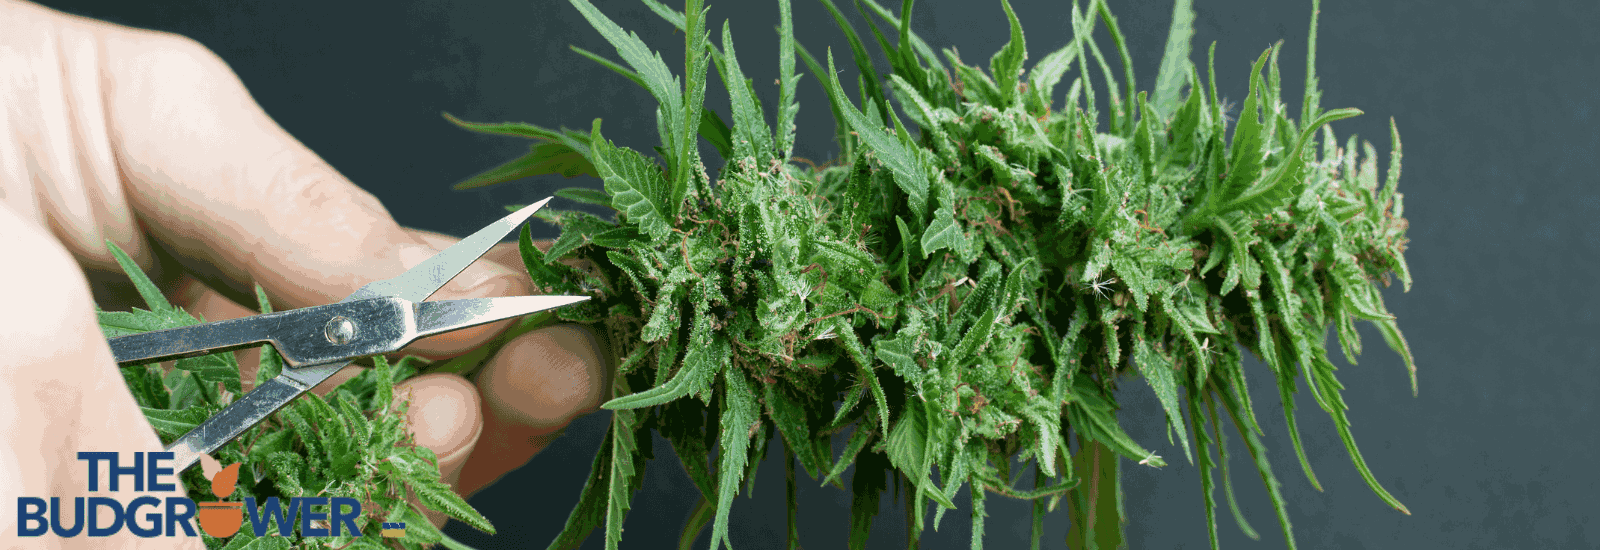
The first step to getting the right clone is trimming your plant. This step needs to be done during the vegetative stage. Finding the right type of cut means having a solid or lackluster plant. If you take your clone from a plant in the vegetative stage, then this might cause problems with rooting. At the bloom/flowering stage, the plant has focused its energy on developing buds. Your best bet to finding the right stem is at the bottom of the plant.
Take your trimmers and gently dip them into the isopropyl alcohol. Then, find a stem that looks like it is still in the developing stages and cut it at a 45-degree angle. Take the cutting and immediately place the stem in water. This is to ensure that no air bubbles get trapped.
If your cutting has quite a lot of leaves, it’s best to trim the tips of those leaves off. This will ensure that the plant stops developing further and focuses its energy on developing a strong root system.
Step 2: Skinning the Mycelium
Take your cutting out of the water. Then, gently shave off the trimming’s bottom skin with your trimmer or a sharp blade. This will allow the cutting to take in the rooting hormone faster and more effectively.
Step 3: Rooting Hormones
Once you have fully skinned the mycelium from the base of the trimming, the next step is to dip it into your rooting hormone. All you need to do is make sure the shaved part of your plant is thoroughly dipped into the hormone, and you will be all set to place it into the Rockwool.
Step 4: Rockwool
Take the cutting you just dipped into the rooting hormone and place it into the Rockwool. This will keep the plant upright and help develop the rooting stages faster and more effectively.
Step 5: Germination Dome
After you have placed the cutting into the Rockwool, place it inside the germination dome. From there, you will want to keep the base of the Rockwool damp. Fill the base of the germination dome with water so that the wool remains damp throughout the entire process. It may even work in your interest to put some of our patented Cali Super Soil lining the bottom of the germination dome to give your root structure a place to start. Once inside, keep the lights on 24/7 and ensure high humidity levels. We are talking 75-80% high.
Summary
You can continue to clone as long as your plants stay vegetative. Many nurseries will keep their plants in the vegetative stage as long as possible without switching their light times for bloom. This will ensure you can create copies of your plants for a long time. From there, you can keep the good times coming and never have to visit a dispensary or nursery again!

