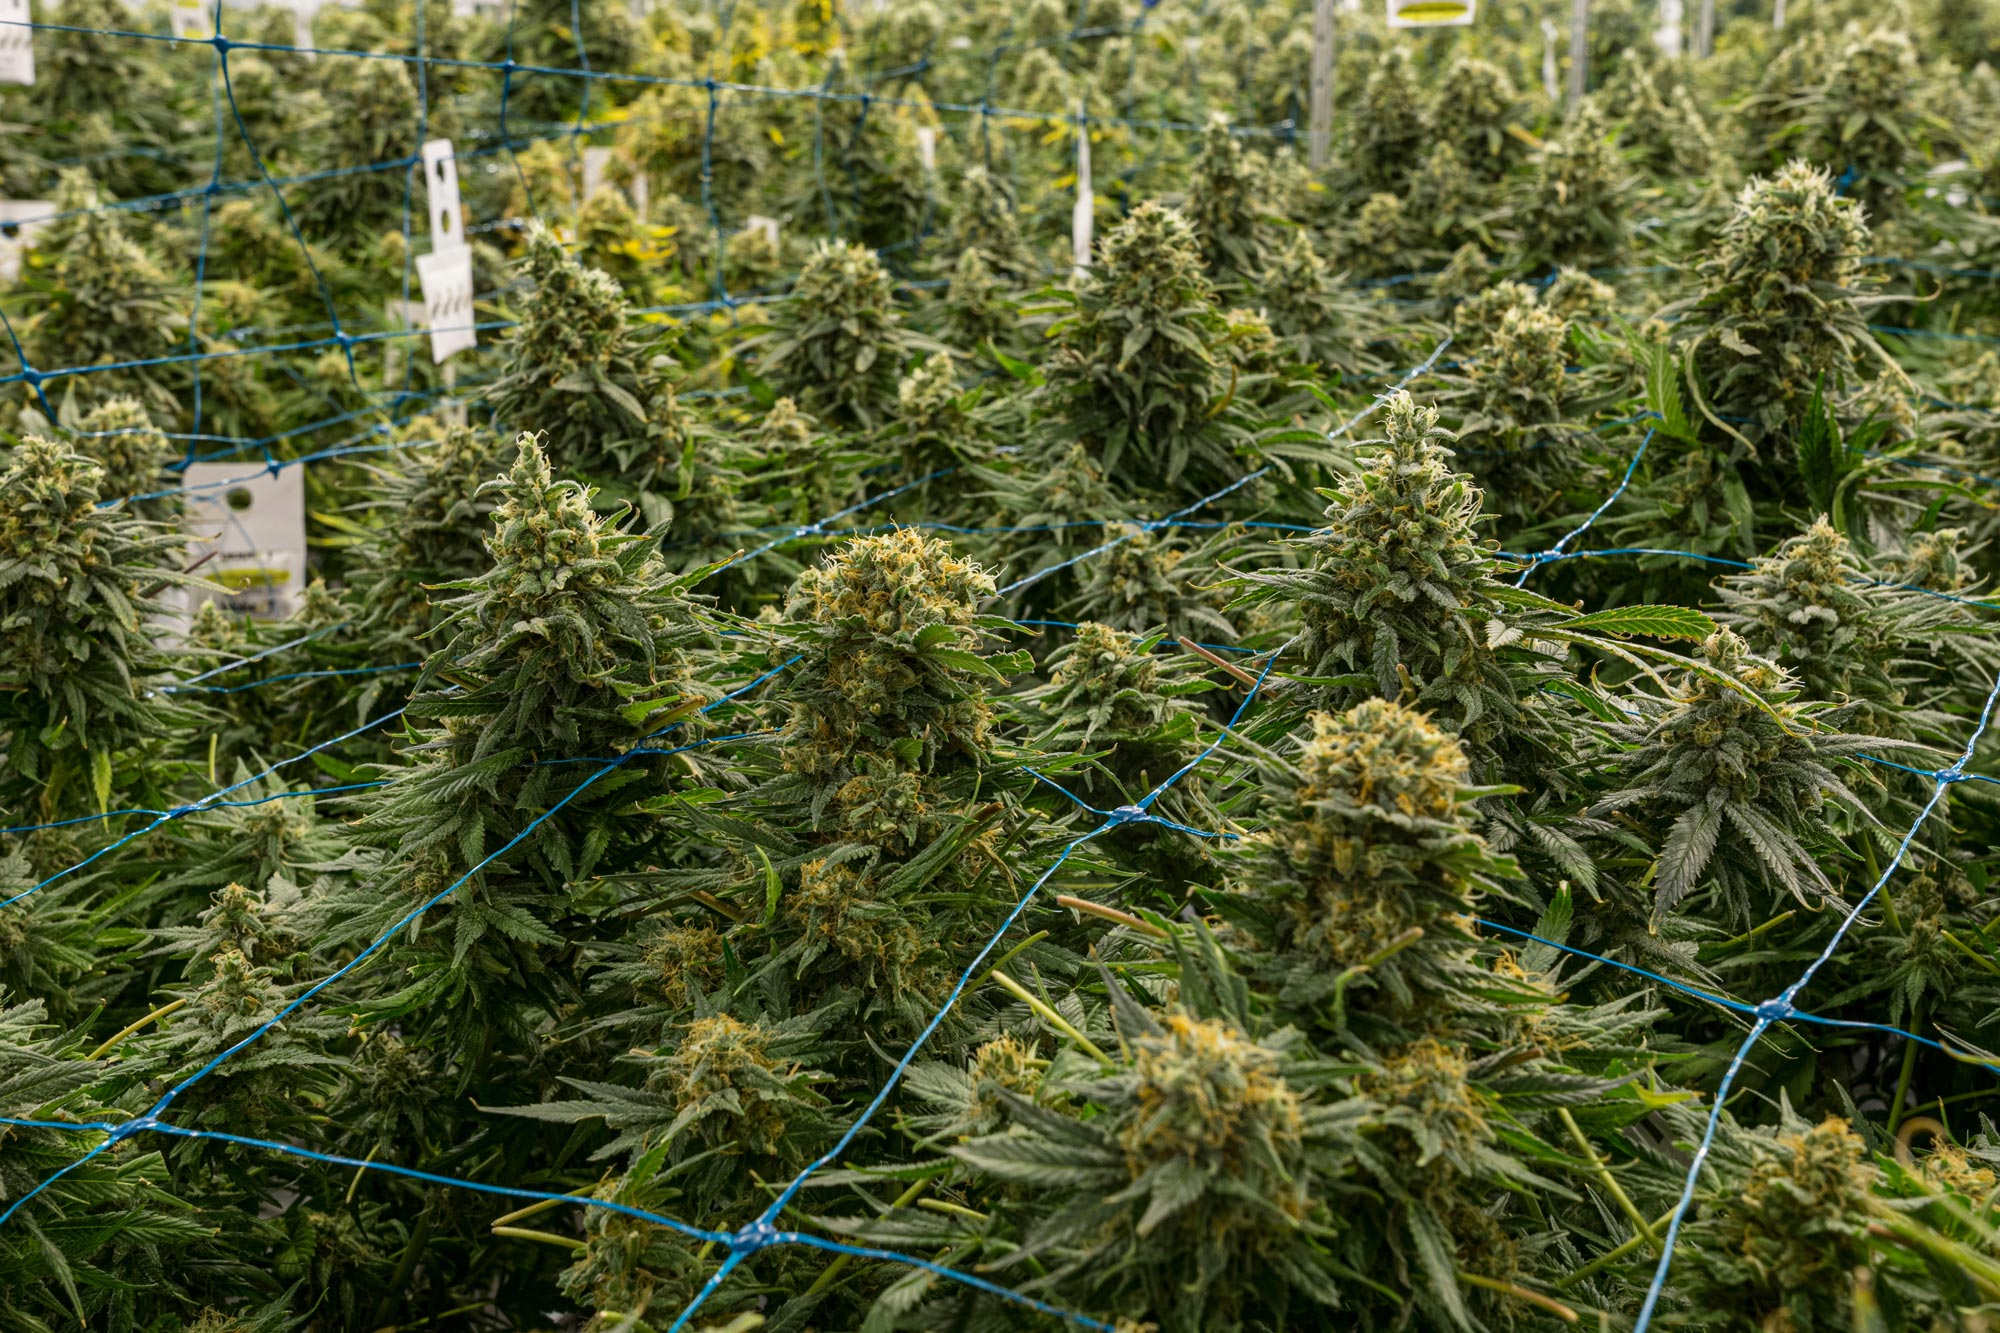
Botrytis, also known as cannabis bud rot, is a type of fungus that essentially blocks nutrient delivery to your crop. This pesky fungus is a problem many growers, whether novice or expert, may experience at some point. Salvaging the rest of your crop once bud rot hits can be a pain, but there are things you can do to stop the spread. Read on to learn what causes mold on buds while growing and what you can do to prevent it.
Cannabis Bud Rot
What Does Bud Rot Look Like?
In its early stages, bud rot – also known as gray mold – may be difficult to detect. Fungus develops inside the plant at its core. This pesky fungus develops at the stem and spreads to other areas, making it very difficult to detect until it is too late. It can present on stems, fan leaves, and buds themselves. All areas of the plant are free game for mold.
To catch bud rot early, you would have to inspect your plant thoroughly. Look for any darkening areas of the stem that appear gray or squishy. Eventually, you will start to see yellow or burnt looking leaves along with brown or gray patches. If you are not carefully inspecting your plants daily, the first signs you may catch may be stringy white mold that looks like spider webs. Visible mold tends to appear in the center of your densest buds due to a lack of airflow.
You may be able to detect mold in the form of a white powdery substance (spores) on your plant as well. This is more easily seen on your fan leaves. The smaller leaves growing through the buds, known as bud leaves, can present in a deformed pattern when bud rot is present. It is important to inspect buds thoroughly if you notice this symptom.
Fungal spores can also be detected as black or brown spots. Be extra careful when moving a plant to quarantine if these spots are present. Mold spores are easily released into the air. Think of bud rot as a bad cold, when these spores are released into the air – this is like a big sneeze directly into the face of your surrounding plants.
Let’s sum up some of the common presentations of bud rot:
- Gray, mushy stems
- Yellowing or darkening of bud leaves
- Curling, burnt presentation of leaves
- Spots on leaves
- White spider web looking fungus
- Brown and rotting buds
What does bud rot smell like?
Bud rot has a very distinct smell and once you know it, you can’t forget it. Have you ever left your wet clothes in a pile for too long, only to remember they exist when your house stinks? Moldy weed can be compared to that smell. It may also be compared to rotting fruit, sweat, wet hay, and urine. Not an appetizing smell to say the least. The aroma may be difficult to detect until the rot is in a progressive stage.
How does bud rot occur?
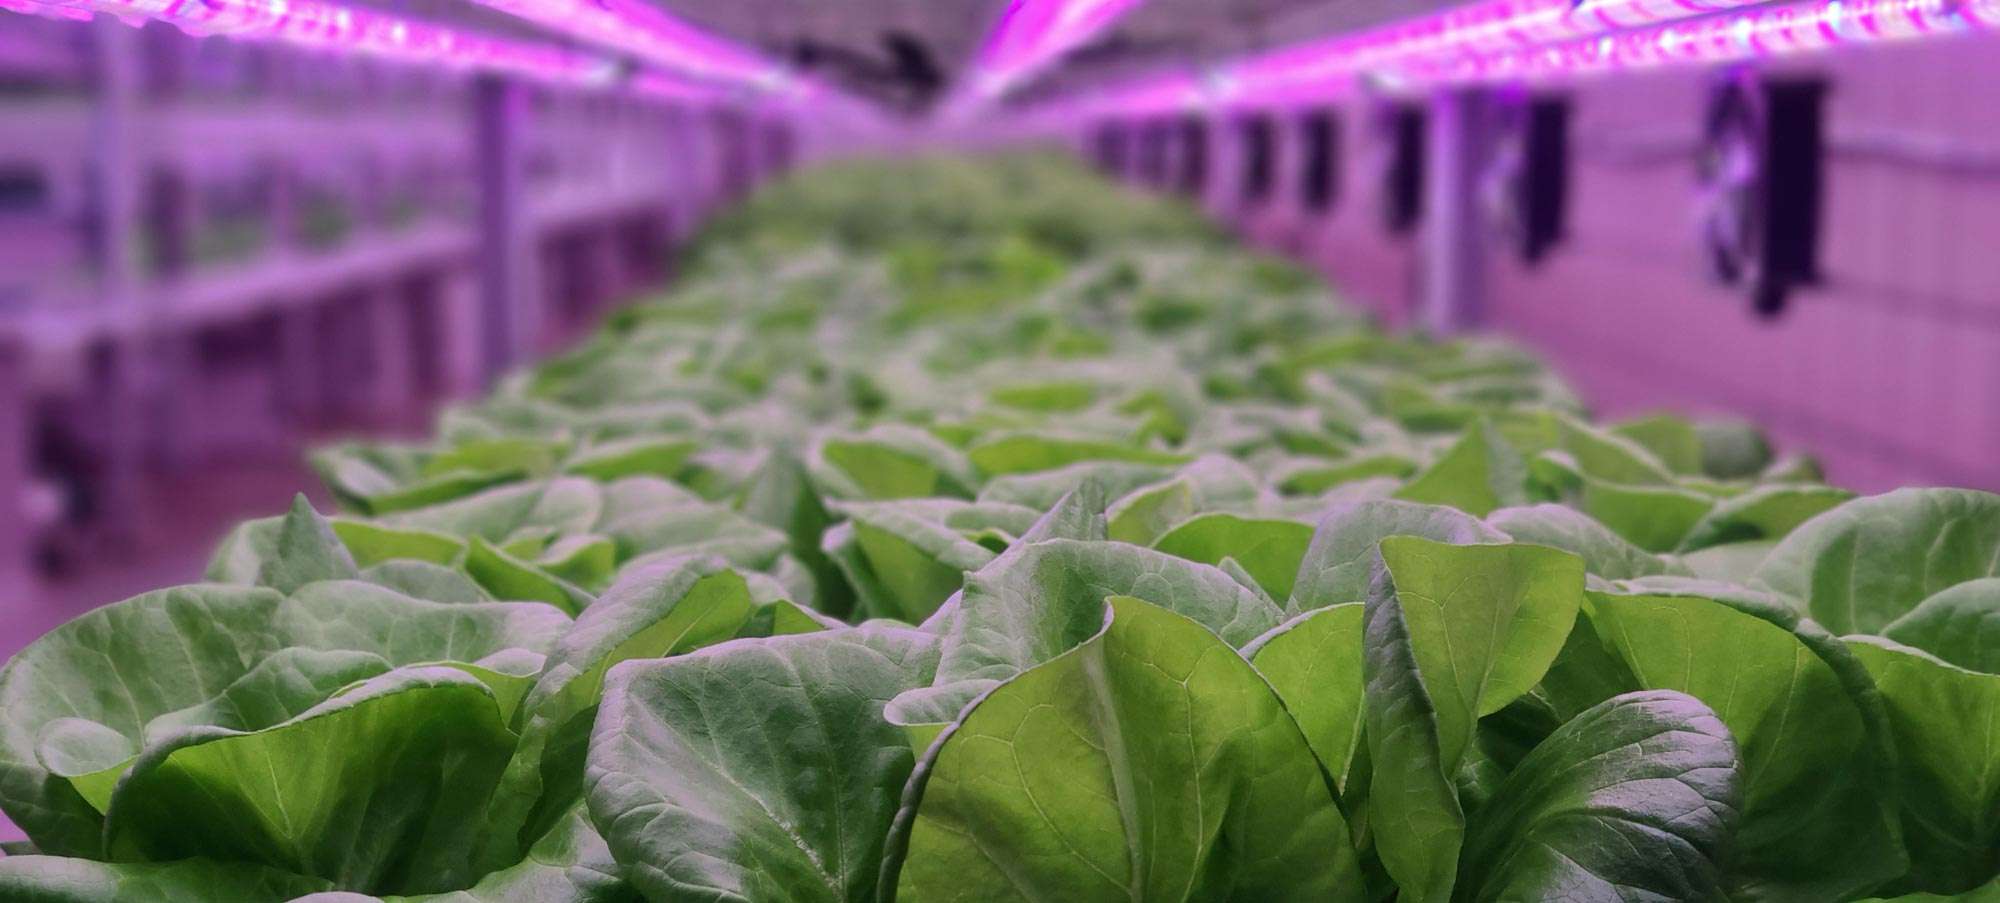
Bud rot occurs when humidity levels in the air surrounding your plant, whether indoor or outdoor, are too high. Poor air circulation can contribute to and exacerbate the situation. Marijuana plants, like most other plants, need proper air circulation and a preferable humidity level to maintain healthy growth. Humidity levels may vary by strain and the stage your plants may be in but generally, cannabis thrives between 40%-60% humidity without much risk for bud rot given air flow is decent. This is obviously much easier to control with an indoor crop.
As mentioned, preferable humidity may vary in the different stages of growth.
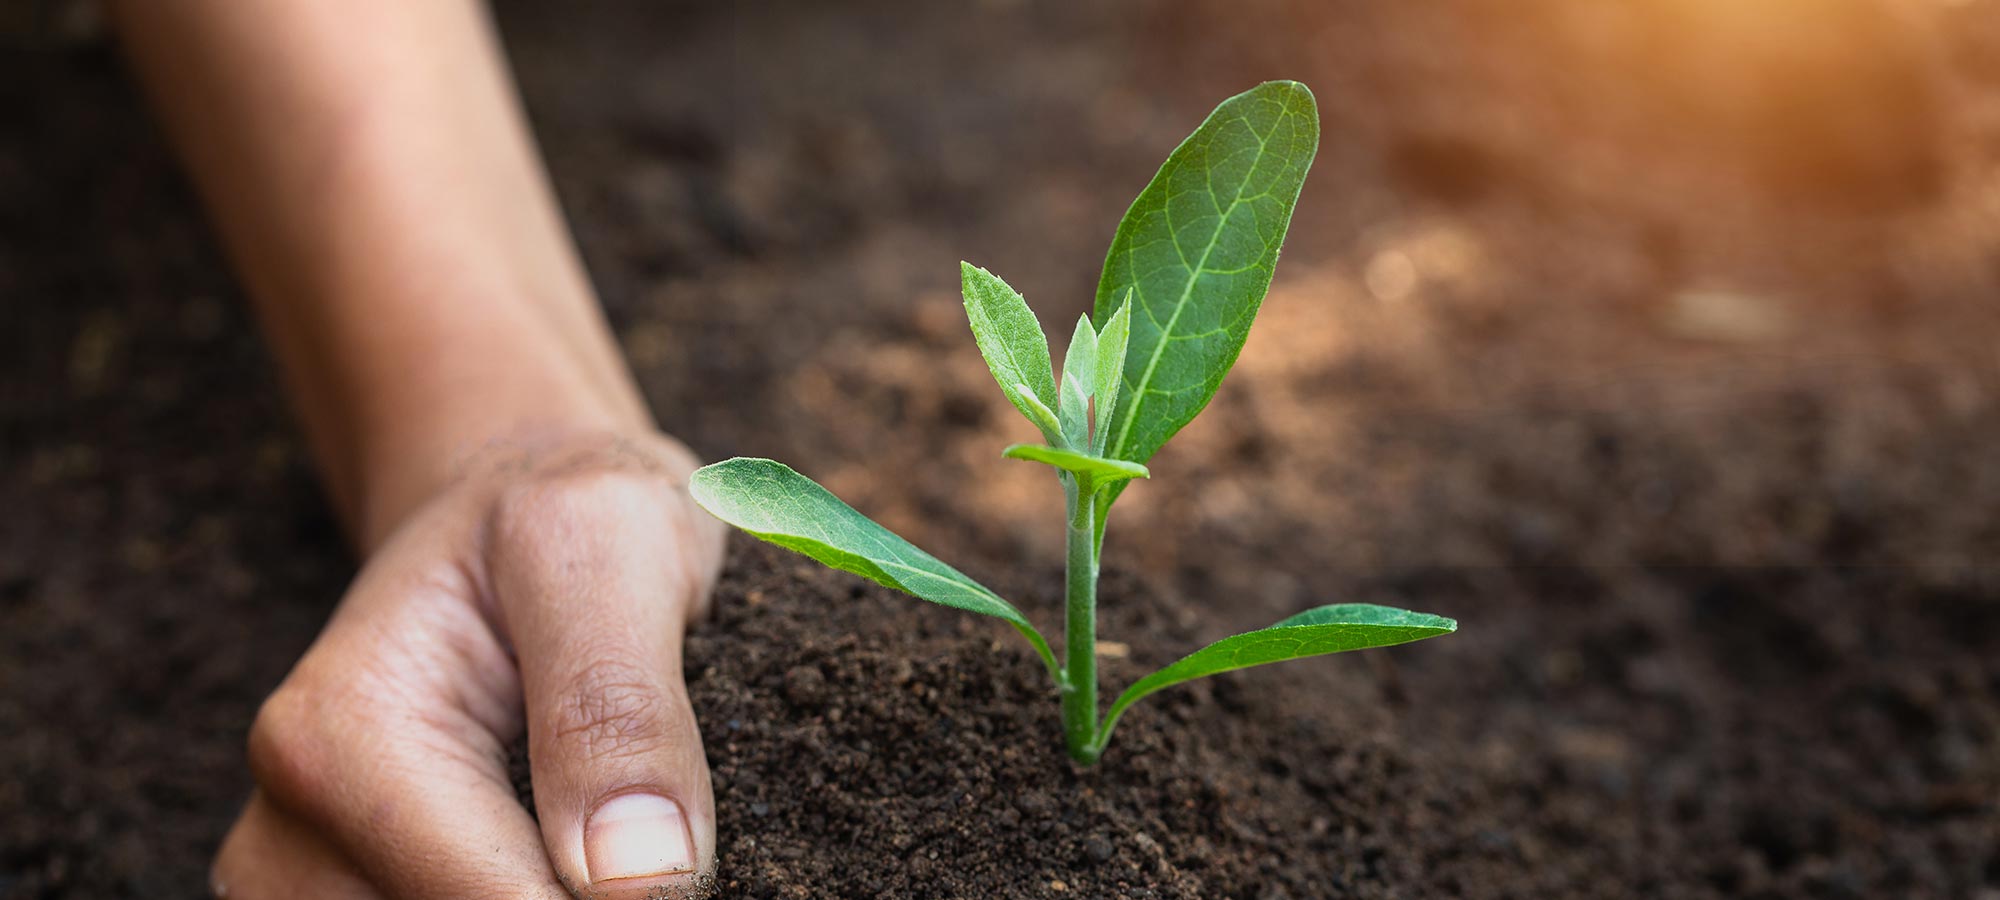
Seedling or cloning stage: This stage is the exception to the 40%-60%. Seeds will sprout and clones will take root at higher humidities. Ideal RH (relative humidity) is between 70%-80% during this process.
Vegetative stage: This is the process of growth between your cannabis plant’s first few leaf sprouts to its production stage. During the vegetative stage, you’ll want to keep your RH floating between 45%-55%. This will provide enough moisture for your plant to thrive without much risk of bud rot.
Flowering: This is when you’ll want your grow environment the driest. Typically, when your plant begins to flower, it’s safe to go ahead and keep that RH down to about 35%-45%.
Drying and curing: Yay! Your buds are ready. Or are they? The final stages before you have smokable buds are drying and curing. To ensure that this isn’t happening too quickly, you’ll want a RH of between 45%-55%. When dried too quickly, your buds can lose potency. We’ll spare the lengthy science lesson here but to put it simply – the curing process keeps the plant’s flavor, smoothness and potency by making it use its sugars, starches and nutrients before they can dry out.
While some strains are more finicky than others, these are very general humidity levels to follow to avoid bud rot while still maintaining enough humidity for proper growth. Humidity can be tracked with humidity sensors. If growing outdoors, there are apps that can tell you the humidity level of your location.
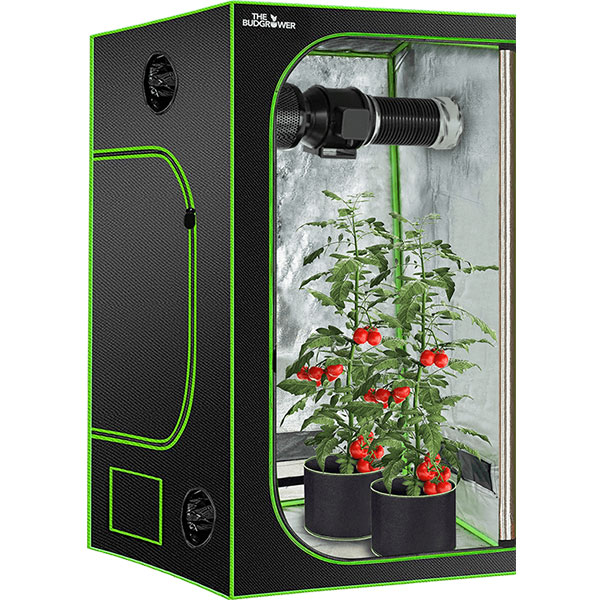
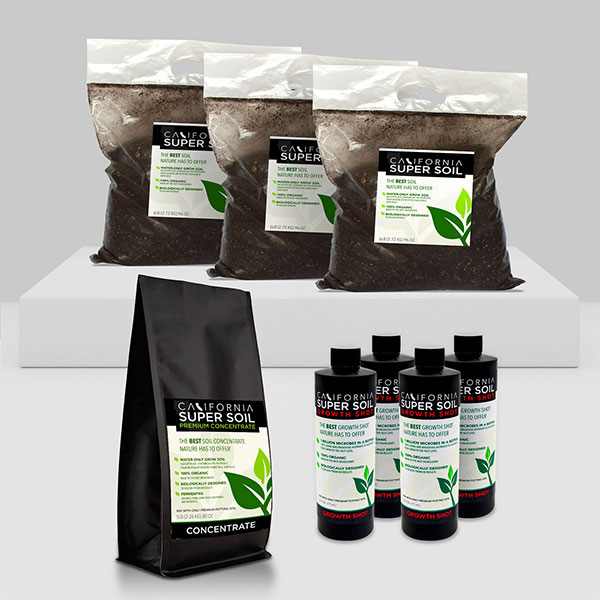
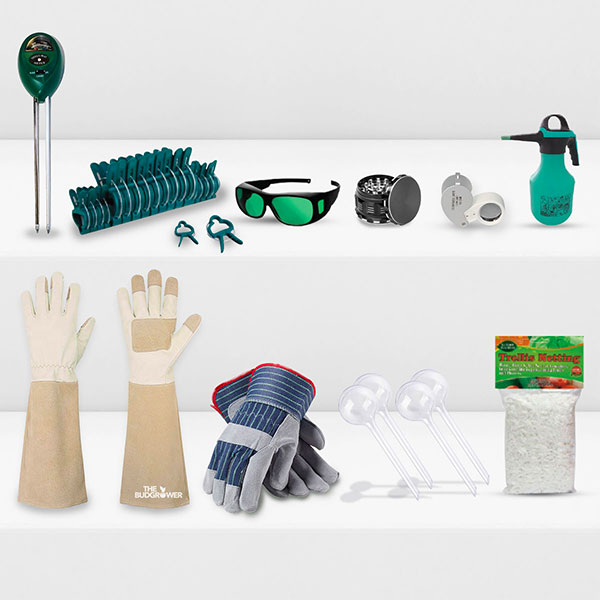
Equally as important as humidity control, is air circulation. Ventilation allows for air to move freely allowing for a more favorable environment. The Bud Grower offers advanced grow kits for all skill levels that include just about everything you need to get your grow started – aside from the seeds. Plus, we can provide free support to ensure your grow is successful.
Why are my buds molding?
As mentioned earlier, bud rot spreads from inside the stems outwardly to the rest of the plant. Initially, symptoms may not be visible; however, eventually you may notice darkening, softening or molding of infected buds. By the time you notice your buds molding, the bud rot is in a progressive stage and the best thing you can do is remove the infected parts of your plant.
Is bud rot dangerous to humans?
Although it is uncommon for a mild case of bud rot to have any dangerous side effects for humans by simply being exposed to its environment, it is best to have someone else handle the elimination of the fungus if you are immunocompromised or especially sensitive.
Can you smoke bud rot?
Although smoking bud rot does not typically come with any severe side effects, it is strongly advised against. For most healthy individuals, symptoms will be more uncomfortable than they will be dangerous. Some uncomfortable symptoms you may experience after smoking moldy weed include:
- Nausea
- Vomiting
- Unpleasant taste
- Excessive coughing
Less obvious symptoms include:
- Fatigue
- Brain fog
These last couple of symptoms may not be a reliable tell-tale sign your bud is moldy since these are a normal, often desired, side effect of consuming marijuana in general.
For individuals with a weakened immune system or who may be more sensitive to mold, symptoms can be a lot more concerning. Severe symptoms include:
- Swollen sinuses
- Sinus pain
- Congestion
- Inflammation of lungs
- Wheezing
In rare circumstances, smoking moldy buds can result in a fungal infection of your throat and/or lungs, potentially leading to pneumonia.
Conclusion – don’t risk it, man.
Is bud rot contagious?
Bud rot is extremely contagious and can spread to your entire crop in a matter of days. Once the spores become airborne, your entire crop is at risk of developing bud rot. Every dot you spot on your plant is millions of mold spores seeking a spot to settle and reproduce.
What are the first signs of bud rot?
The first signs of bud rot will typically be present in the stem. If you’re lucky enough to catch it in this stage, you’ll notice a gray, dark, or mushy appearance to the stem while the rot works its way outward.
Can bud rot buds be saved?
Once your plant is infected with bud rot, you must discard the infected parts and quarantine your sick plant from the rest of your crops.
Can you get rid of mold on bud?
Some growers may swear by the use of hydrogen peroxide or Neem oil to stop mold in its tracks but the absolute best and safest way to deal with moldy weed – is to toss it. Once infected, spores spread very quickly. Infected areas of the plant should be carefully chopped and tossed. Best practice is to then quarantine the rest of your plant, if it seems salvageable.
How do I stop mold in my grow room?
Prevention is key! Knowing what we now know about what causes bud rot, putting that information into practice is essential.
Once mold is present though, there are some practices you can put into place to decrease the chances of contaminating your entire crop. Here are some tips for avoiding mold spread indoors:
- Isolation. It is much better to rid yourself of the known moldy crop than to risk losing your whole crop.
- Keep food and drinks out of your grow space. Food and beverages (besides water) contain sugars. Think of sugar as a breeding ground for mold and yeast.
- Ditch the broom. This one may seem counterintuitive but replacing your broom with a vacuum backpack can reduce the spread of mold spores in the environment. Be sure to always empty the tank outdoors and away from your crop.
- Regulate temperatures. High temperatures are more conducive to mold growth.
Although controlling the environment outdoors is more difficult, there are some things you can do to prevent bud rot and mold spread:
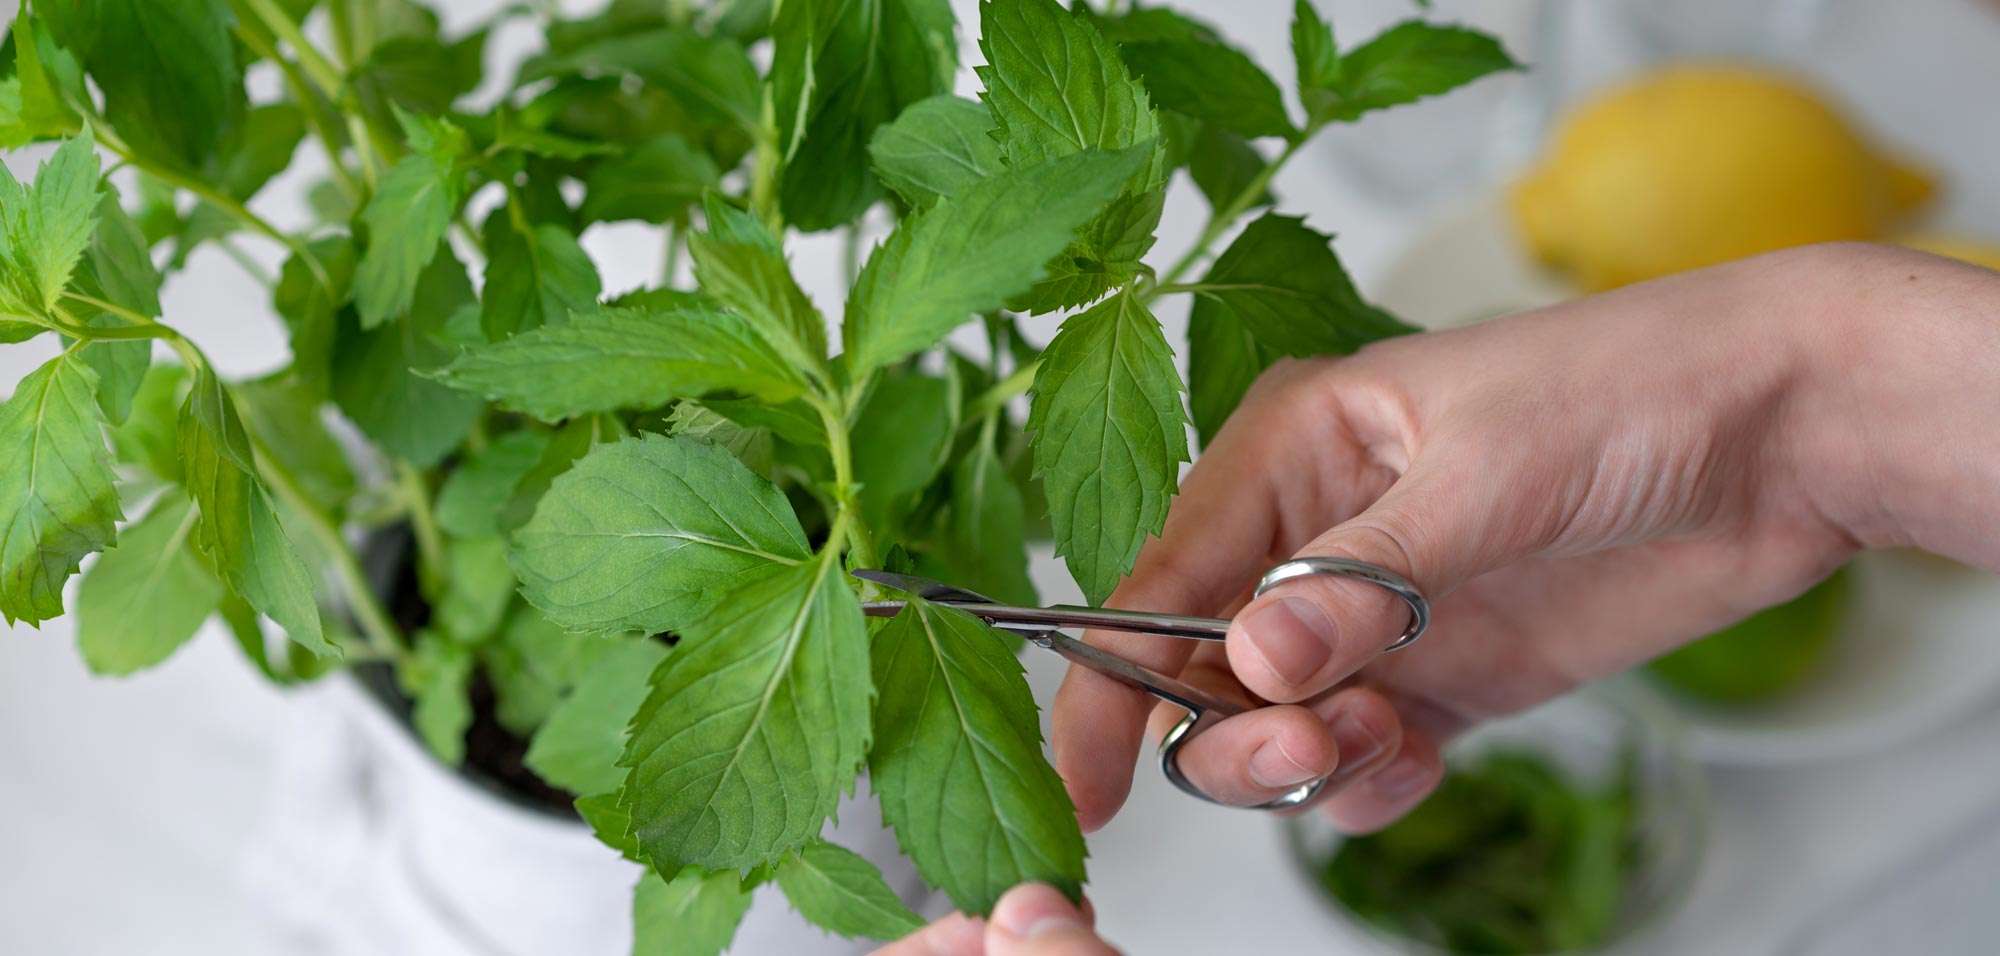
- Air pruning. Air pruning is the process of trimming lower leaves to increase air circulation.
- Shake your plants. This will remove excess moisture that may have accumulated on your plant, especially in the mornings.
- Thoroughly inspect your plants daily.
How to get rid of mold on drying buds
Unfortunately, once mold is present there isn’t a foolproof safe way of getting rid of it. It’s best to take preventative measures when drying your bud to ensure all your hard work doesn’t go down the drain.
- Air circulation is key. Do not hang branches too closely together.
- Don’t forget to watch the humidity levels.
- Deep UV LED lamps. You won’t want these lights to point directly at your hanging buds, but rather the air around them. This will slowly (but consistently!) kill any circulating mold spores.
How to get rid of mold on curing buds
While there is also no way to get rid of mold on curing buds, there are simple tips to prevent it.
- Ensure your jars are clean.
- “Burp” your jars regularly by opening your jar a few times a day for the first week. This replaces humid air with fresh air.
- Inspect your buds often.
Fortunately, what causes bud rot is straightforward. If you understand the causes of bud rot and have preventative measures in place, you stand a good chance of avoiding it altogether.
Growing marajuana is no easy task – but with the right setup, you can grow like a pro. As a mission-driven company founded by professional growers with years of experience, The Bud Grower offers complete grow kits for successful at-home grows. With a variety of kits to choose from and support for any questions that may arise, Growing your own marajuana can save you money while giving you an enjoyable hobby to master. Our high-quality grow kits are user-friendly for all skill levels.
Shop high quality home grow kits today and watch your bud flower to perfection!


