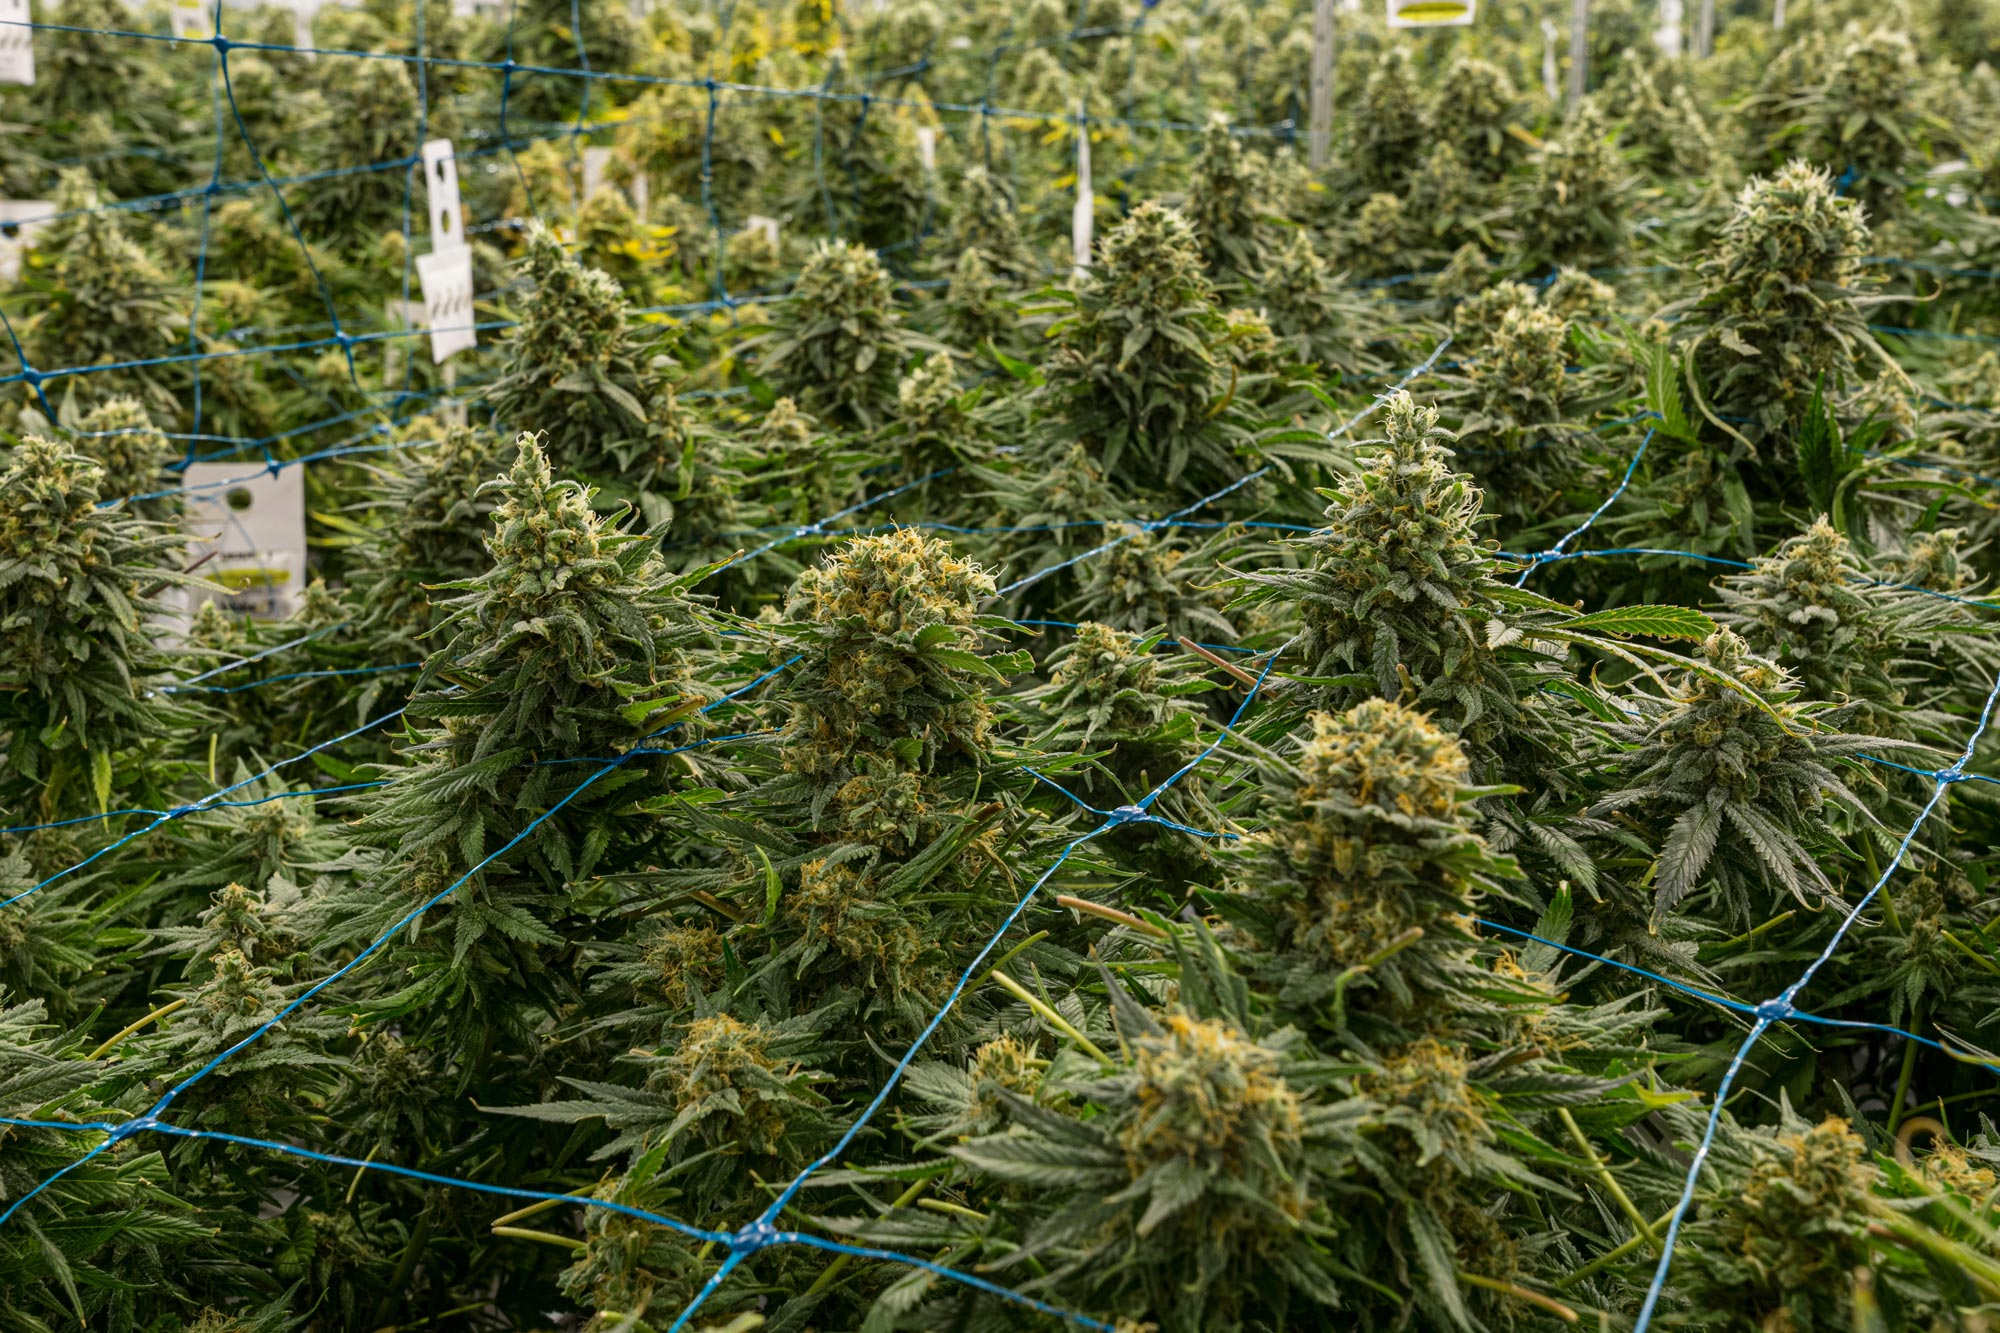
Harvesting season is upon us! This means that your plants are ready to be cut down, dried, and cured. This is the last phase before you can enjoy the fruits of your labor!
This is one of the easier steps, yet it requires a level of patience. We understand that you’re excited about the end result, but it just requires a little more time.
Let’s get started!
Why It’s So Important to Time Your Harvest Correctly?
Knowing when it’s the right time to harvest your crops is important for caring for your precious plants. The best time varies from strain to strain, which is why it’s difficult to understand.
 Best Ways to Know When It’s Time To Harvest
Here are the three best ways to determine the harvesting time for your plants:
- Flowering Stage
- Pistils Color
- Trichomes
Harvesting Tools
- Disposable Gloves – In order to keep your hands from getting sticky, it’s a good idea to keep a pair of latex or rubber gloves available. Also by having gloves, your hand will not absorb the THC that is on the buds. You want to save it for later!
- Garden Sheers – These will help you not only cut the plants off of their bases but also help in the trimming process which we will get to later!
- Isopropyl Alcohol – A 90% or higher alcohol will do the trick. This is to help sterilize your trimmers and keep them from “gunking” up. No need to spread unwanted bacteria to your plants!
- Drying Rack – A drying/ curing rack will be a big help in the later stage process. This will be where you place your trimmings to dry out.
Cutting the Bases
The first step is to cut down those large and tall trees! Take your cutters and cut them off at the base. Don’t worry, you’re not hurting your precious plant! In fact, we bet you’re eager to do so! Once this is completed all you need to do is hang them upside down in a dry environment.
 The Harvesting Process: Drying
This is one of the more time-consuming parts of this section. But don’t worry, it’s nowhere near the time it takes to actually grow your plants! After you have axed those trees like Paul Bunyan, simply grab a piece of string and hang them upside down in your tent. If you have one, a dehumidifier works great and keeps the moisture out. If not, that is okay too! Simply keep your tent in an area that has little to no moisture. Stay away from your attic or basement as that is where a lot of moisture resides in your house.
Keep the plants strung upside down until you notice that the branches are brittle and frail like kindling. It’s just a matter of waiting! The overall time will be 7-12 days!
Check out more information on the drying process.
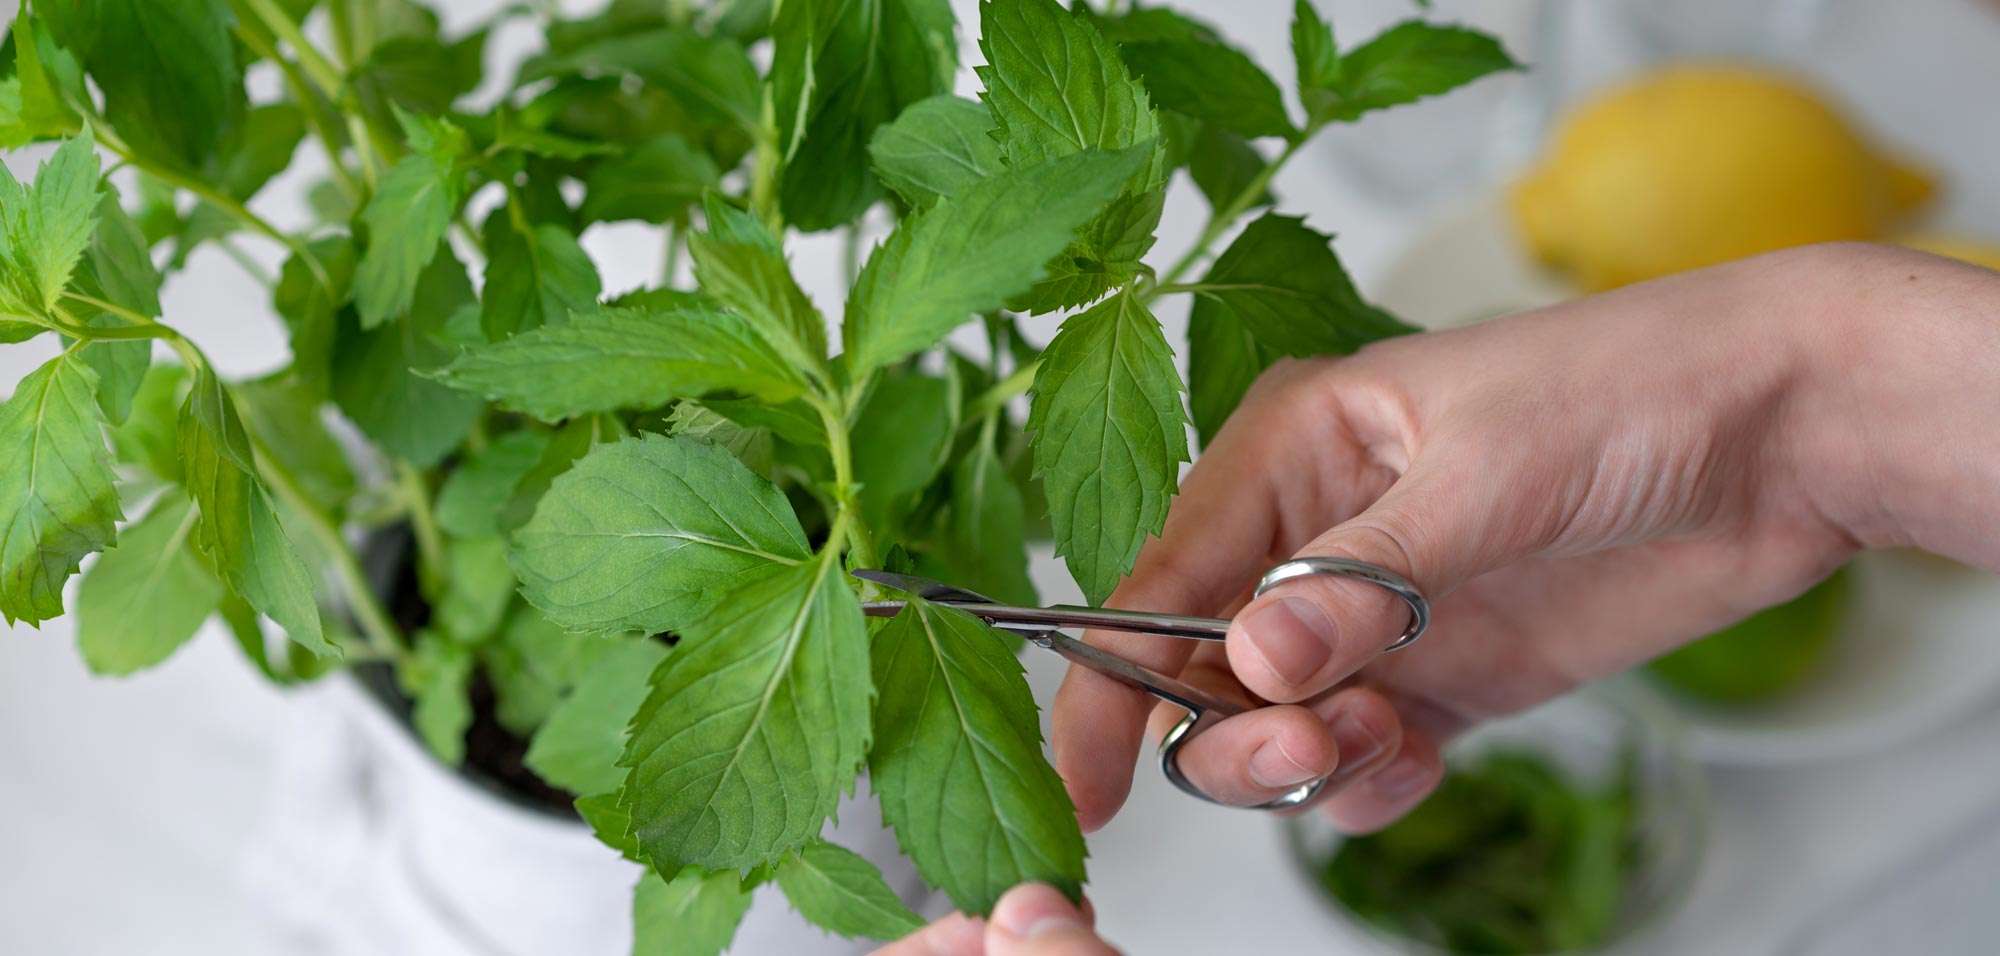
Trimming
Trimming is the rewarding process of finally seeing the end results. All you need to do is carefully cut all the buds from the plant’s stem. It’s best to go from largest to smallest so that you put the best parts of the plant first. Start from the top—that is where the largest buds have developed on the plant. From there, move down to the small buds. Every bud is special, so you don’t want to skip over any goodness!
Curing
The curing process is a little more tricky to navigate. We’re not going to sit here and stress you out by saying it’s “hard” so don’t sweat it! Once you have trimmed your buds and put them in jars, make sure the jars stay humid. This is where walking the lines can be difficult. If you make it too humid in the jar, you risk black mold. If you keep your buds too dry then, well, they’ll dry out and lose their aromatic properties.
The best practice is to *burp* your jars a couple of times a day. To keep things well-regulated, a good rule of thumb is to take a damp paper towel and place it over the opening of the jar. Then simply tighten the lid over it!
Conclusion
Harvesting is the last step in enjoying your first-ever home grow! Congratulations! You’ve followed all the steps and are ready to kick back, relax, throw on some Bob Marley, and watch some Spongebob Squarepants! You earned it!


