
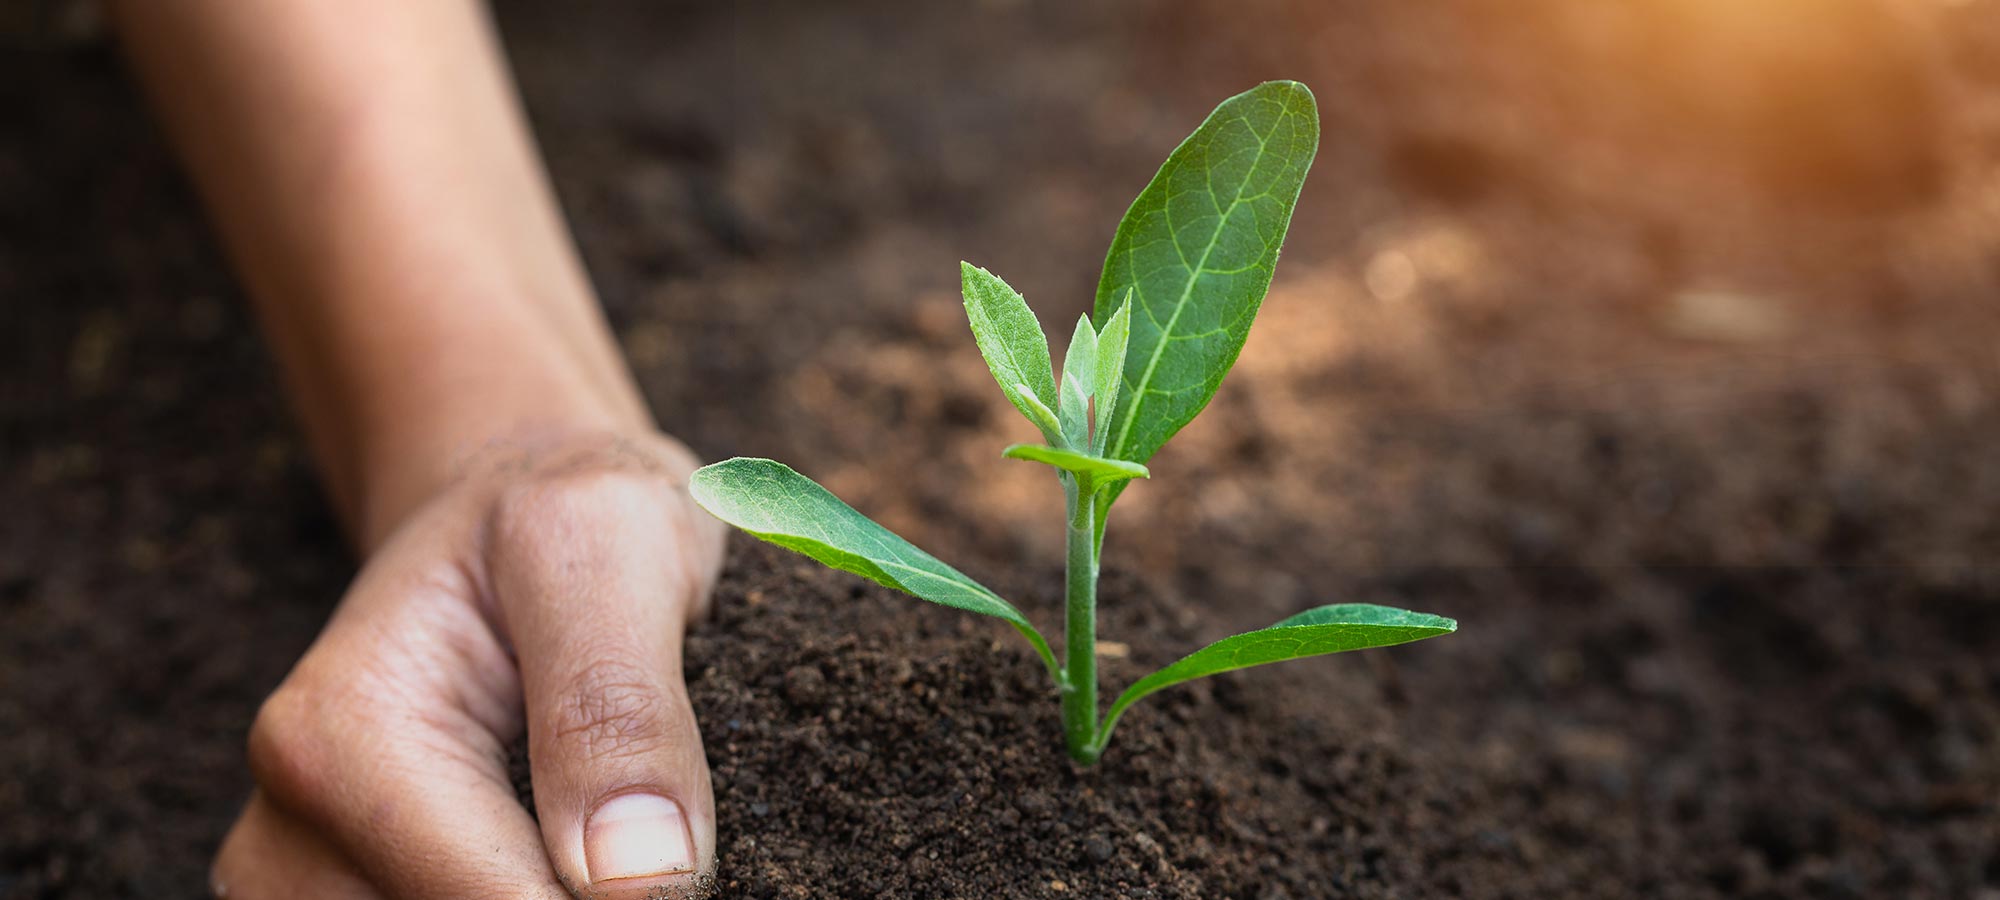
Cultivation is the process of growing your buds from start to finish. We are going to give a high-level approach in this article. If you want an extremely in-depth step-by-step process, check out our full guide here.
Germination:
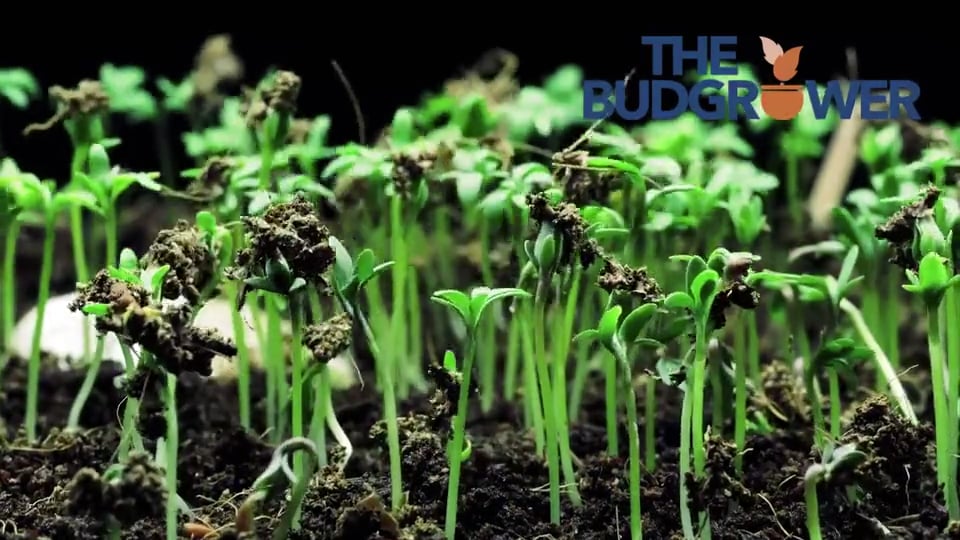
Germinating your seeds is the first step in the process. There are two types of ways to germinate. The first is utilizing the “wet paper towel” method. Which includes placing your seeds in a warm, damp paper towel and keeping them in the dark for 2-3 days. This has seen the most success in our research. Secondly is the “jar of water” method. This is where you simply drop your seeds in a jar of water for the same period of time. Make sure the water is warm and again, keep it in a dark place with little to no sunlight.
Do this until you see white taproots forming on the seeds. When the seed is ready, the taproot should be 2 centimeters in length. From there, you are ready to plant!
Planting In Rooter:
There are a number of different rooter mediums out there. We use rapid rooter because it’s safe for your plant and it’s 100% organic. While others like to use Rockwool, there are tiny microscopic pieces of glass – almost like home insulation and that can potentially cause problems down the road.
When your seed has fully germinated, place the seed (taproot down) into the rooter. Leaving the rooter soaking in water for up to a week and let it sit under the light for 24 hours a day. You will continue to do this until you see the seed start taking root. There will be small roots sticking outside of the rooter. They are stretching out and are now looking for nutrient-enriched soil! At this time, It’s time to plant!
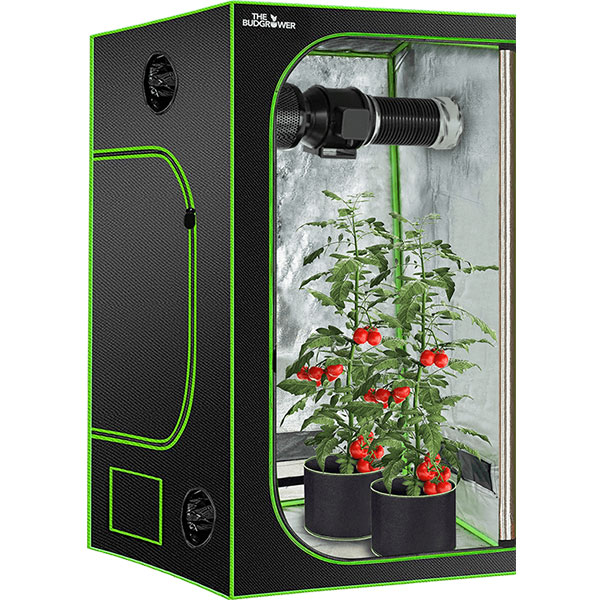
Cultivation: Planting Your Seed!
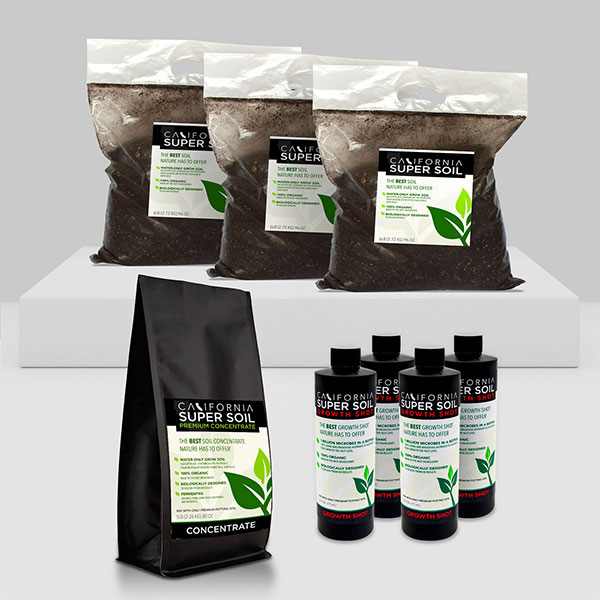
Simply take the 5-gallon cloth pot and mix 1/3 Cali Super Soil and 2/3 Foxfarm potting mix. Make sure it’s blended well. Then sick your rapid rooter with the seed inside in the center. Make sure the rooter is sitting about half an inch below the soil line – this can differ depending on how tall your stem is. Make sure not to bury your plant!
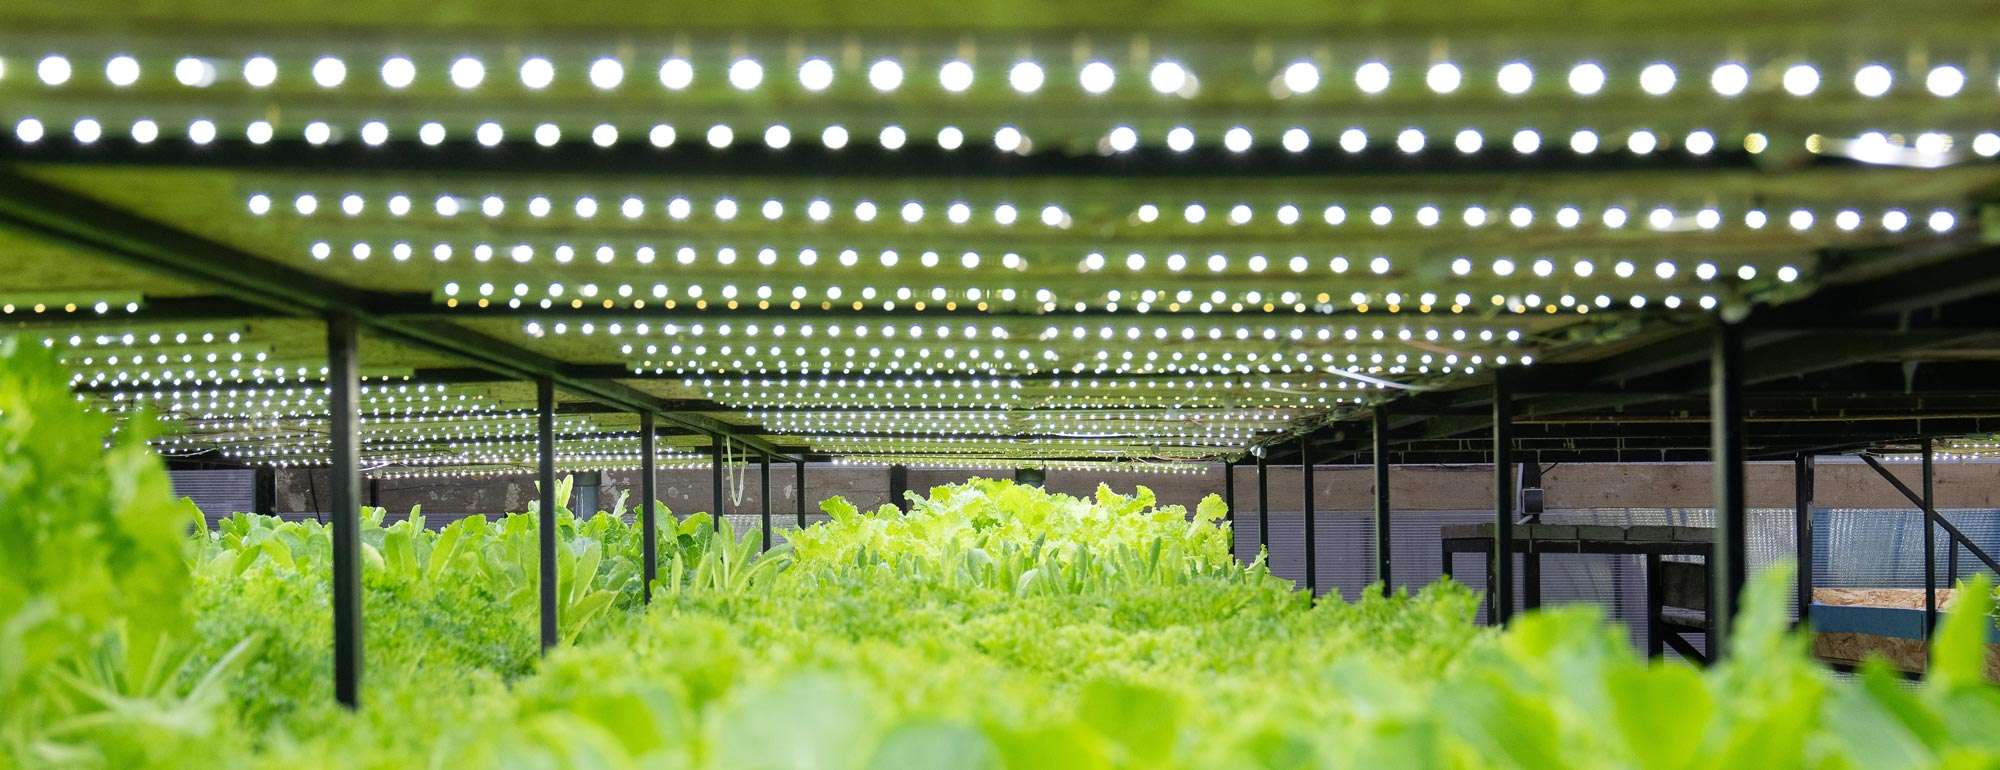
The Vegetative Stage:
This is one of the first stages where you will notice your plant start to grow! It’s extremely easy. Simply put your plant under the light 24 hours per day. or, alternatively, 18 hours on and 6 hours off. This is to ensure your plant receives the best and most optimal light for large growth! This process can take up to a month. There are two different ways to tell that your plant is done with the vegetative stage. The first is if you are using Auto-Flower seeds. This is the easiest way for beginners to tell if they are ready for the bloom stage. Auto-flower seeds will, well, automatically start to flower. From there you can switch your light timer to 12 hours on and 12 hours off. WIth regular feminized seeds, you can control when your plant goes into the bloom stage by simply switching the timer to 12 on and 12 off.
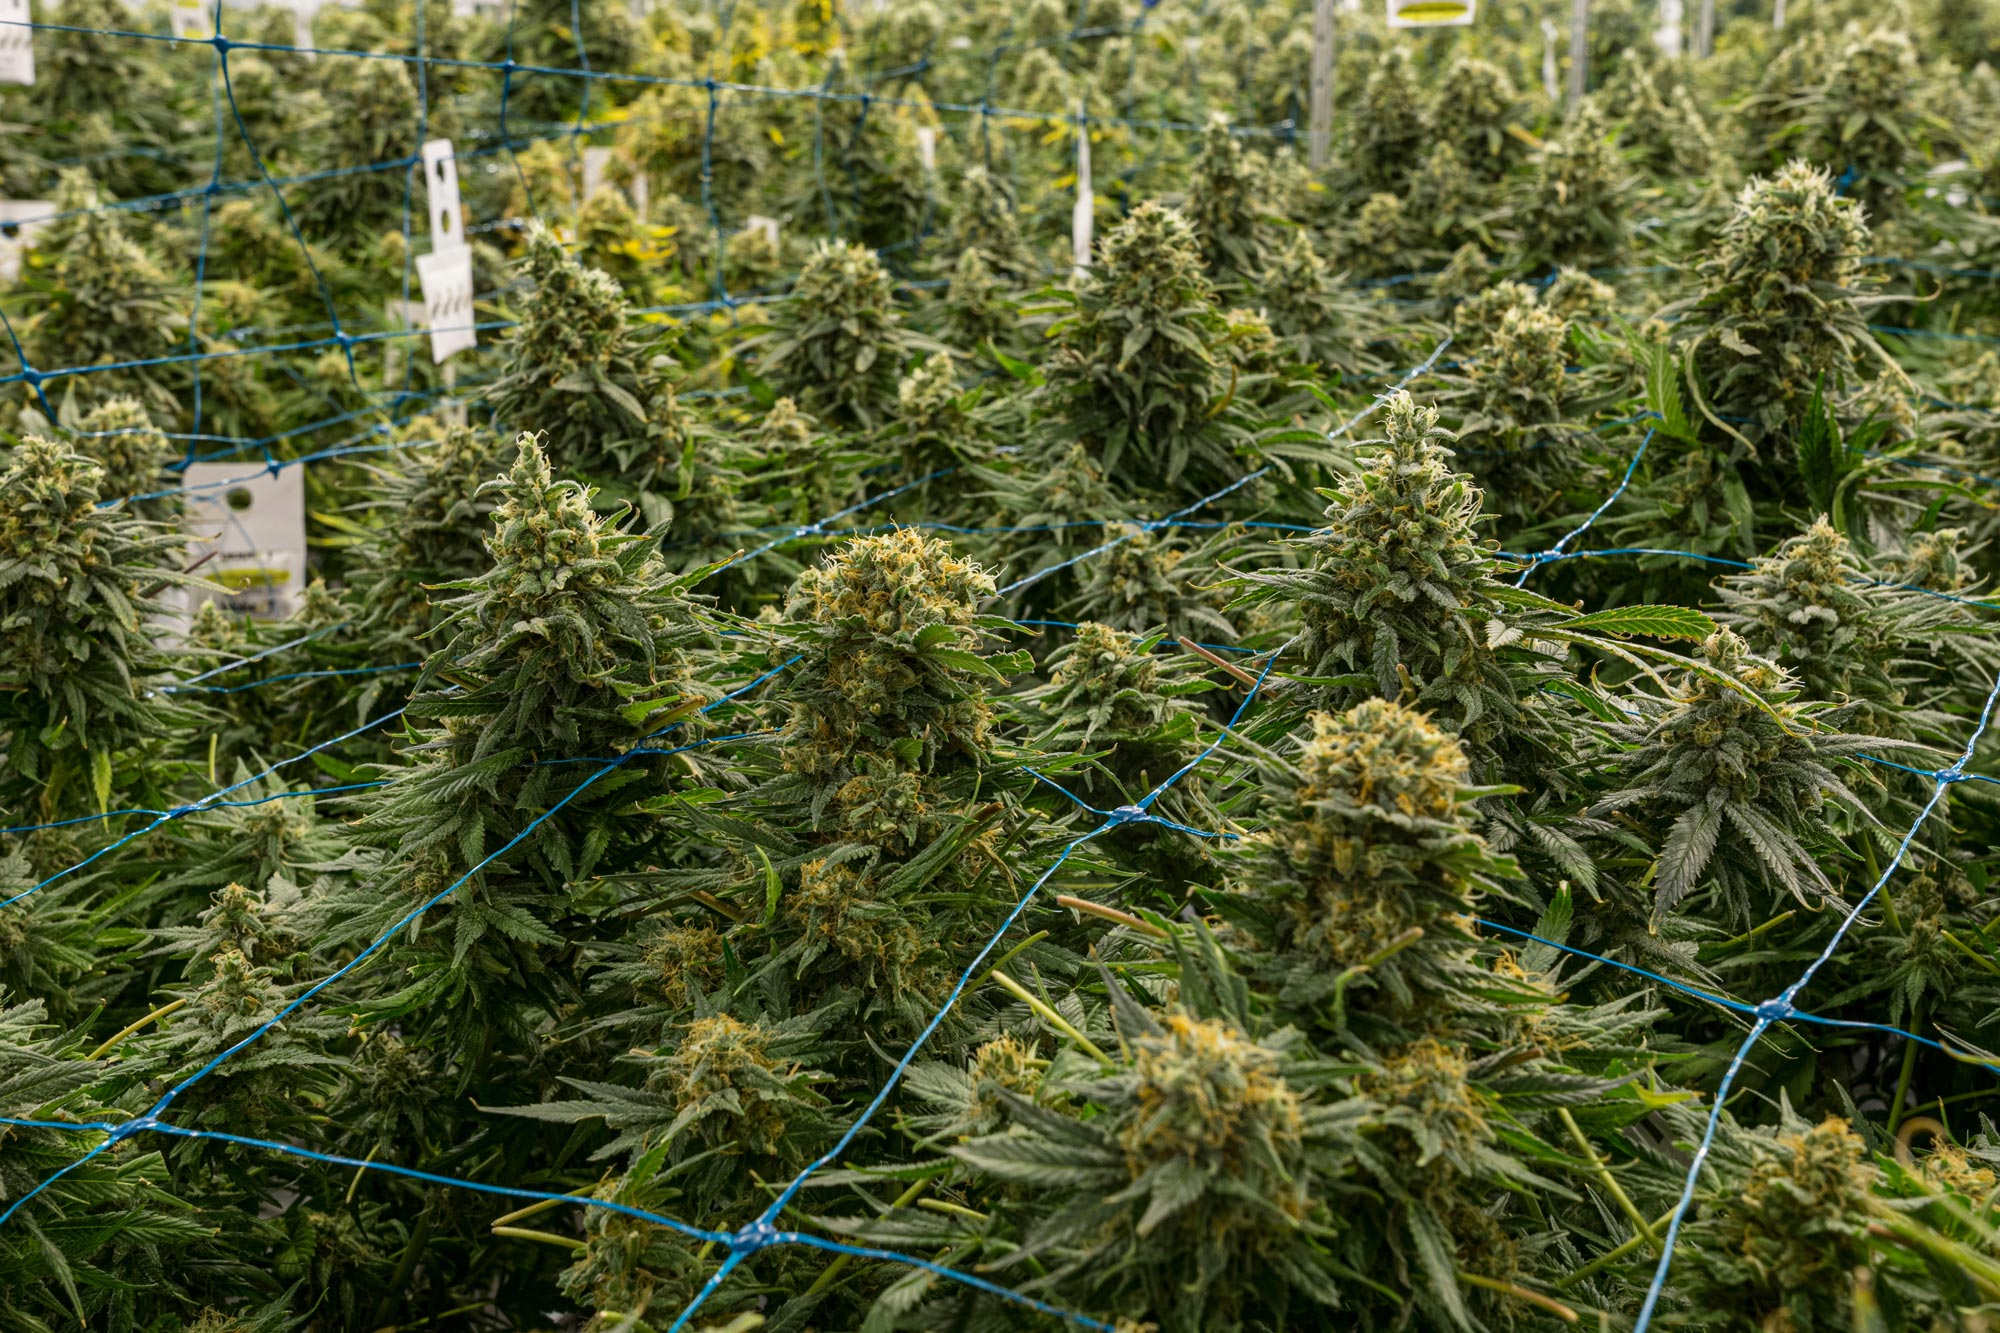
The Bloom/Flowering Stage
This is where you start to notice that your plants are developing the buds that you so heavily crave! From this point on your plants will focus all their energy on the buds and no longer grow taller. The light time for this stage should be 12 hours on and 12 hours off. This is to emulate the natural light cycle of outdoor growing. This process should take 5-8 weeks. You’ll notice the buds on the plant will start to get bigger and bigger over time.
Cultivation: Cutting Trimming, Drying, and Curing!
These are the final stages of your growth and can take an extra 3 weeks in total. Once your plants are maxed out in the bloom stage. It’s time to cut them. Simply take your sheers, cut at the base of the stem on each plant, and let them hang upside down in your grow tent. By this point, you can get rid of the soil as all nutrients have been depleted. Take the newly cut plants and hang them in the tent until they are fully dried. Your humidity level will drop as there is no more watering going on and the soil will not add to the moisture Keep your moisture levels between 35-45% and check on the branches to see if they are brittle. Once you can easily snap a branch, you know it’s time for curing.
Curing is simple. Take your freshly trimmed and dried bud and store it in your mason jars. Continuously come back to the jar every day to let our air and moisture. This process is called “burping” and will help your buds develop their signature aromas. This process takes up to 12 days for finalization.


