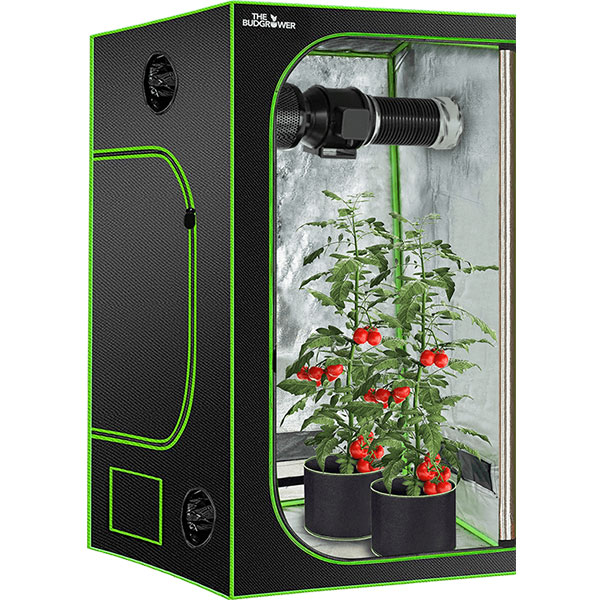
Why are Grow Kits So Popular?
Grow Kits are becoming the main choice for those who need to access cannabis for both recreational and medical reasons. With more and more states moving closer to legalization, the technological advancements are ever-changing to accommodate the new market.
It wasn’t always as easy as it is now to understand the basics of growing from home. When I first started to grow, I had to get all of my equipment at my local hardware store and while I received the obvious looks from the cashier and employees there, the process took far more work than I had originally thought. Once I was set up in my room, I had to take a stab in the dark in order to learn how to grow.
That step wasn’t as easy as I had imagined it would. There was a lot of trial and error, and my only resource was this old hippie who lived down the street. He would talk to me about growing for all of 5 minutes before he went into fantastic stories about following the Grateful Dead around for decades. As much as that was fun, that didn’t get me where I needed to be. From there, the process was time-consuming and I lost a lot before I actually gained anything.
This is where grow kits are gaining in popularity. For many, the effort it takes to grow is primarily in the setup of whatever room you are looking to turn into your grow space. From there, it’s simply “watch, tend, and wait.”
Basics For Grow Kits

Grow Kits are the easiest way to learn how to grow.
Well, now that the country is moving closer to becoming more friendly towards the green space, the concept of all-in-one grow kits are becoming more and more popular.
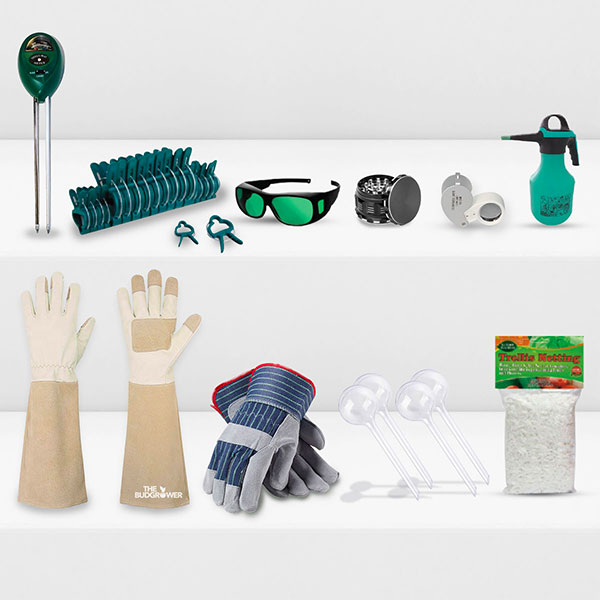
This is why we have this list. We compiled the best tips for growing in the safety of your home. We cover everything.
Grow Lights
Grow lights are one of the most important key pieces for growing at home. How else will your plants receive the proper lighting to grow to their fullest potential? Depending on how you would like to grow cannabis from home, there is a multitude of options! We put together a list to help you determine what lights best fit your needs!
Types of Grow Lights
In order to have the best growing option for your home, you need to find the right grow light! Throughout the years, when people grew cannabis at home, there weren’t too many options. For starters, cannabis was still deemed illegal, and secondly, the technology involved wasn’t nearly as innovative as today.
Today we typically separate lights into two categories: HPS and LED
HPS Grow Lights
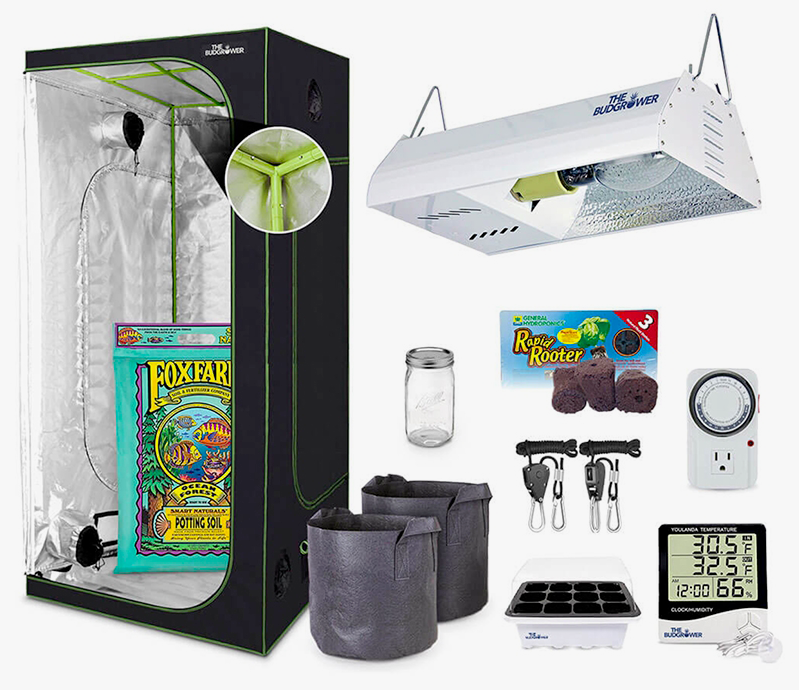
Check Out our HPS Grow Kits!
HPS lights (High-Pressure Sodium) are what many uses to grow. This has been the more traditional method. Back in the 1970s a few light aficionados figured out that these lights were great for growing and have been a staple in home grow kits since. They are affordable and an effective light source for growing cannabis. One major downside is the amount of energy they take up. These lights can be a costly addition to your energy bill, but if you’re like most who can only grow a certain number legally, then you won’t see much of a drastic difference.
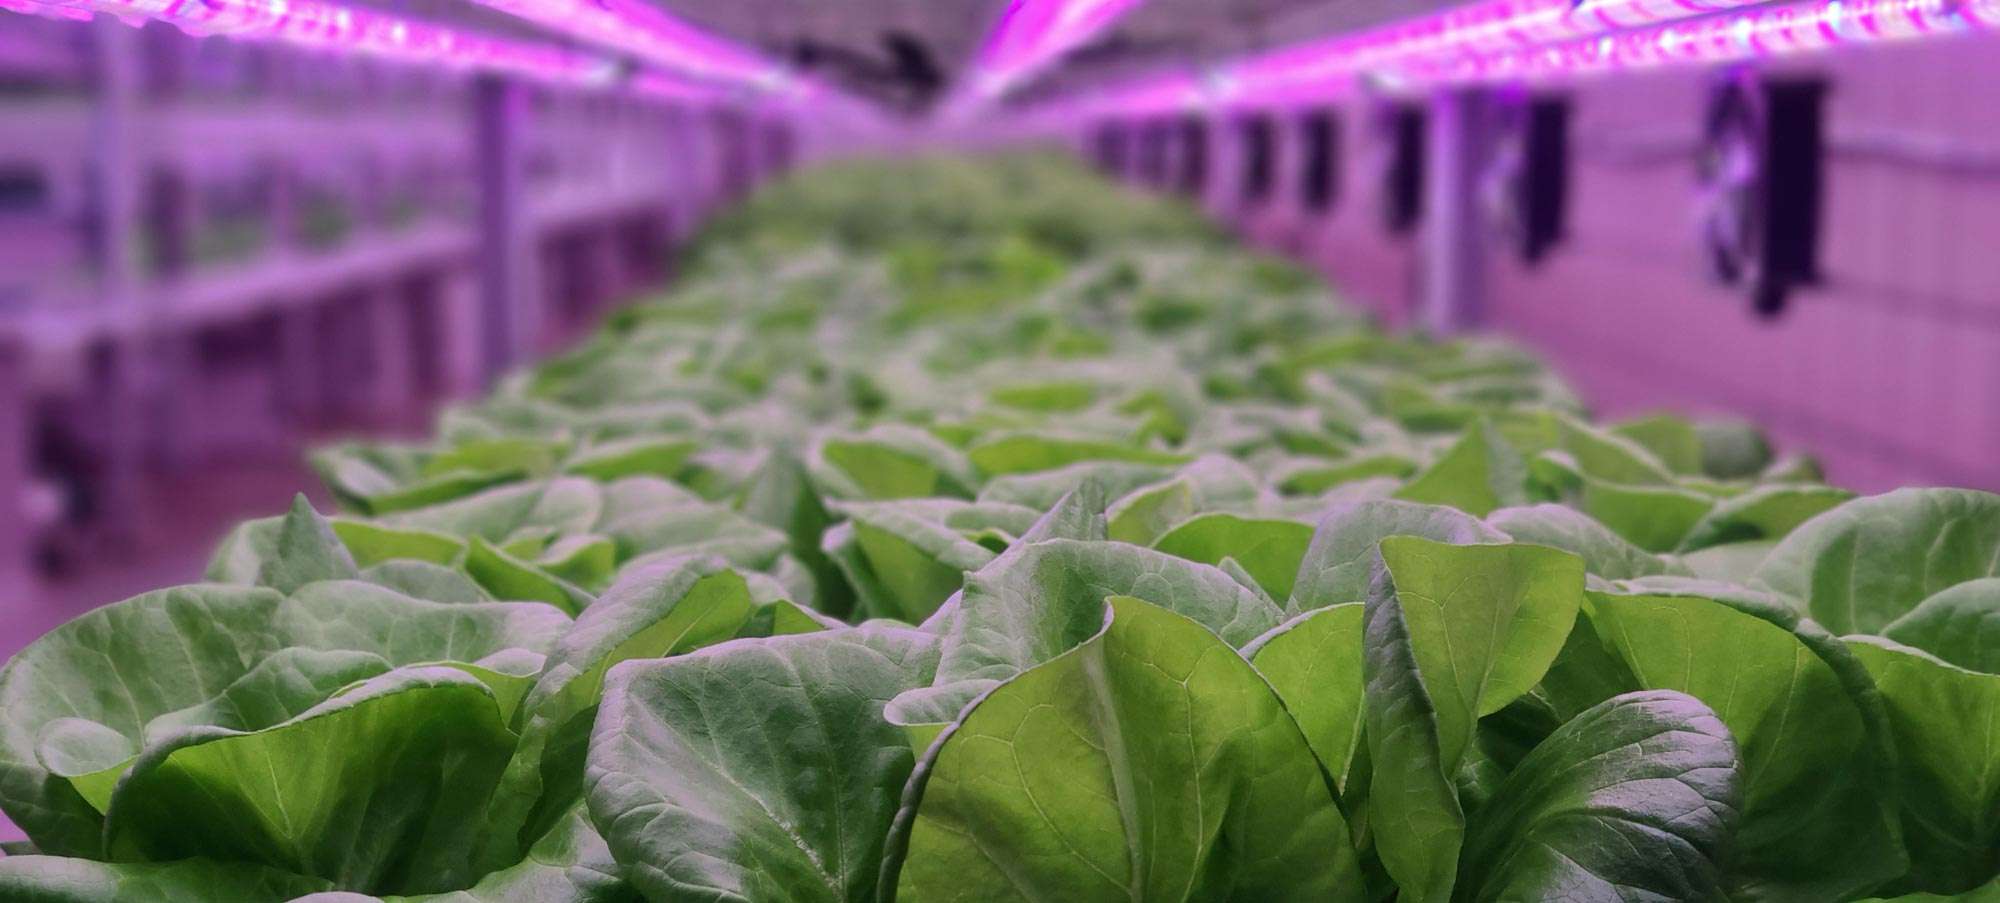
LED Lights
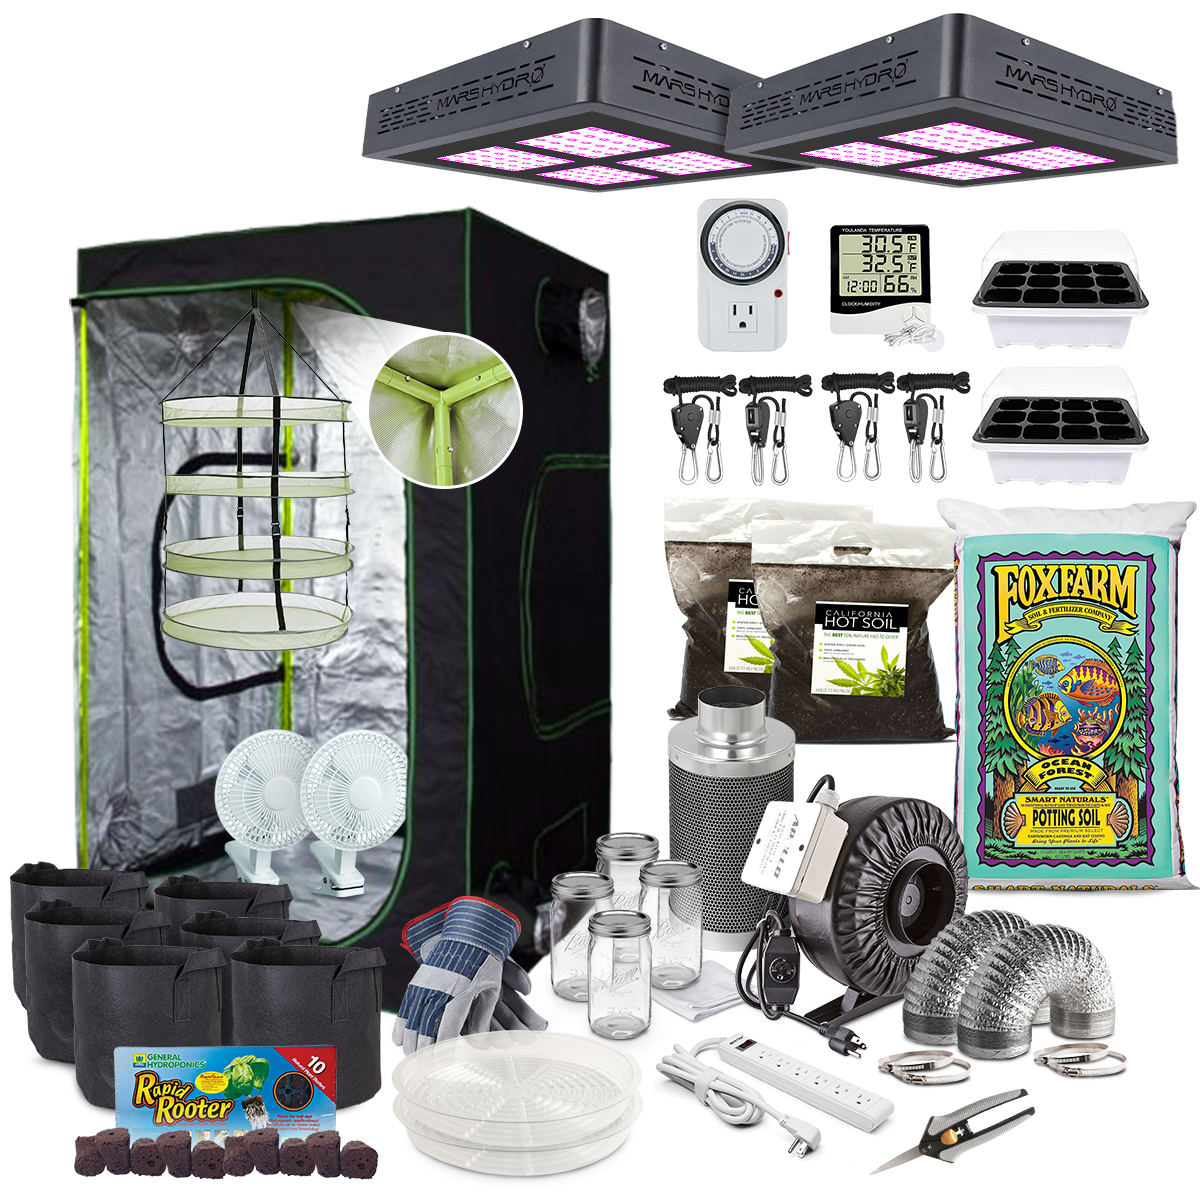
Check out our selection of LED Grow Kits!
LED lights are some of the most popular lights to use. While the traditional methods are still completely relevant, many are finding that switching to LED lights for their grow can often cut down on their electricity bill. LED lights are also more “incognito”. Where HPS lights have a clear giveaway in any house, LED lights do not typically have that common “yellowing” feature. One of the drawbacks of using LED lights is the initial upstart cost. While it will eventually save you on your electric bill, the cost might be a little concerning for those who are looking to begin.
It really comes down to what you are looking to spend. A beginner might not necessarily want to spend the most money upfront. This is completely understandable. For someone who is looking to take the next step, we would suggest using LED lights.
Again, it comes down to where you are starting.
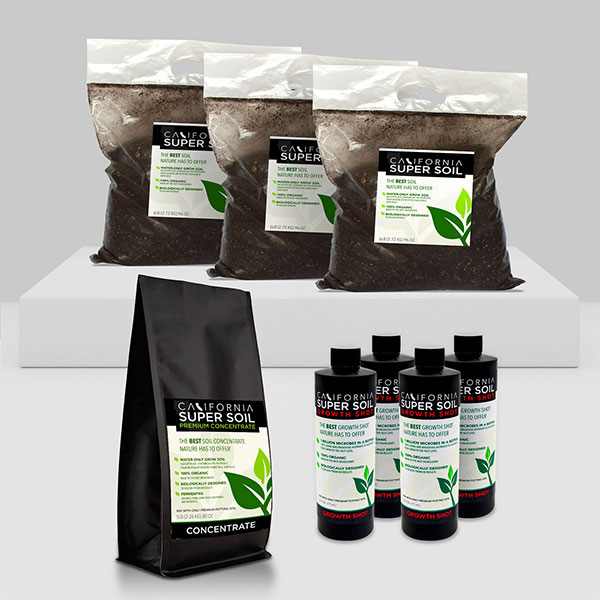
Hot Soil & Top Soil
When getting started, you need to use the best soil. One of the major factors for beginners is their use of these products. The soil typically comes in two different verities: Hot Soil and Top Soil.
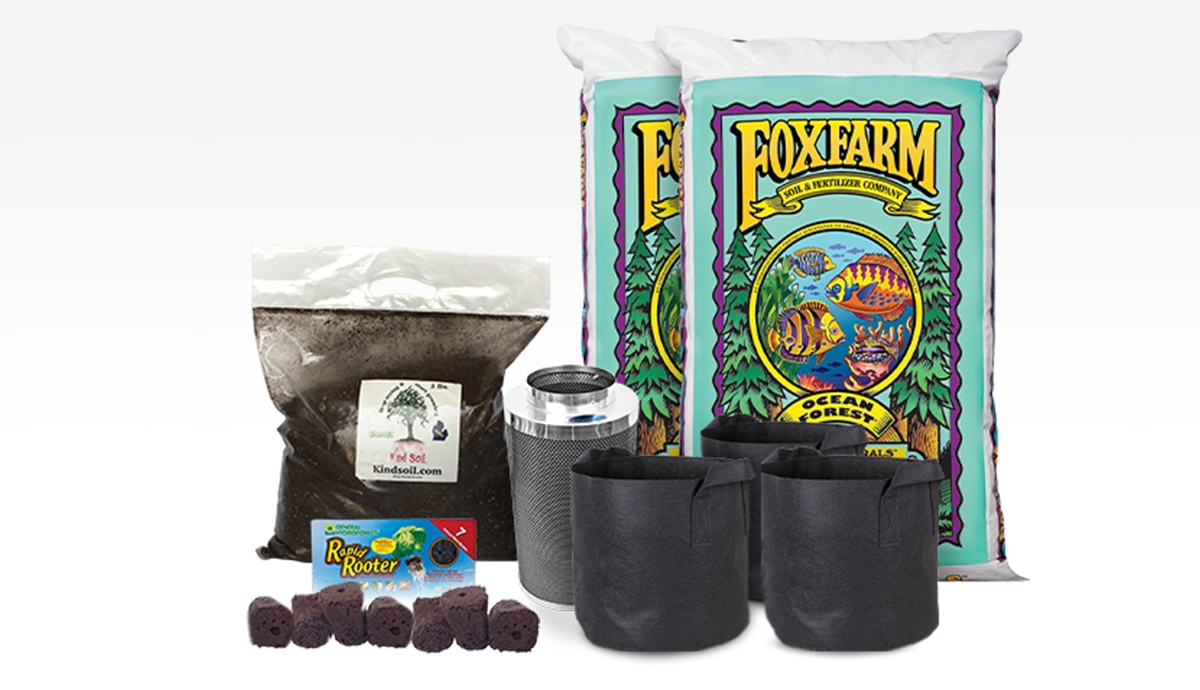
Check out our soil reload kits here!
Hot Soil Basics
Hot soil sits at the bottom of your planting pot. This is where your plants receive the most nutrients. When a seed begins to sprout, the roots will instinctively work down towards these areas. That being said, the plant needs to have the richest most nutritional soil to be the best.
In a natural ecosystem, the best place to plant crops is at the base of valleys. All the sediment and nutrients run down the steep slopes of the mountains and into the valleys. This is where agriculture started and this is the same method that we use today. Fortunately, in our time of technological advancements, we are able to harness the same nutritional values that our ancestors used! Once you get your soil ready, it will be time to plant.
Topsoil
Topsoil is where you plant your seeds. It’s all in the name. Place this soil on TOP of the hot soil. This is also where you will be planting your first seeds! Having the right topsoil makes a big difference.
For the best topsoil, we suggest using Foxfarm Ocean Forest Potting Soil.
Miracle Grow And “Bud Boosters”
Many beginners make the mistake of using Miracle Grow and Nutrients Enhancers. We strongly recommend you DO NOT use these when you are learning the ropes. Here’s why:
Miracle Grow is great for your outdoor plants. From grass to flowers, this stuff has everything necessary to make a garden look nice. Unfortunately, the same nutrients that are enhanced through Miracle Grow are not as compatible with cannabis as many would think. Using this in replacement of more effective methods has the potential to be devastating to first-time growers.
Nutrient additives – you’ve seen them at the store. They swear to guarantee your grow will be bigger than ever. Again, this is something that you do not want to get roped into. While it may seem like a good idea to give your plants an extra “boost”, the results can be more harmful. For starters, the core of growing cannabis correctly starts with traditional methods. Once you learn the method, you can make minor changes to how you want the process to go. Secondly, adding the nutrients typically means you have to cut back on something else. This is usually the water that your plants need. In order for you to add these boosters, you need to cut back on water or else you will drown the plants.
These reasons are why we always suggest simply using great Hot Soil. They have everything you need and will not mess up the learning process.
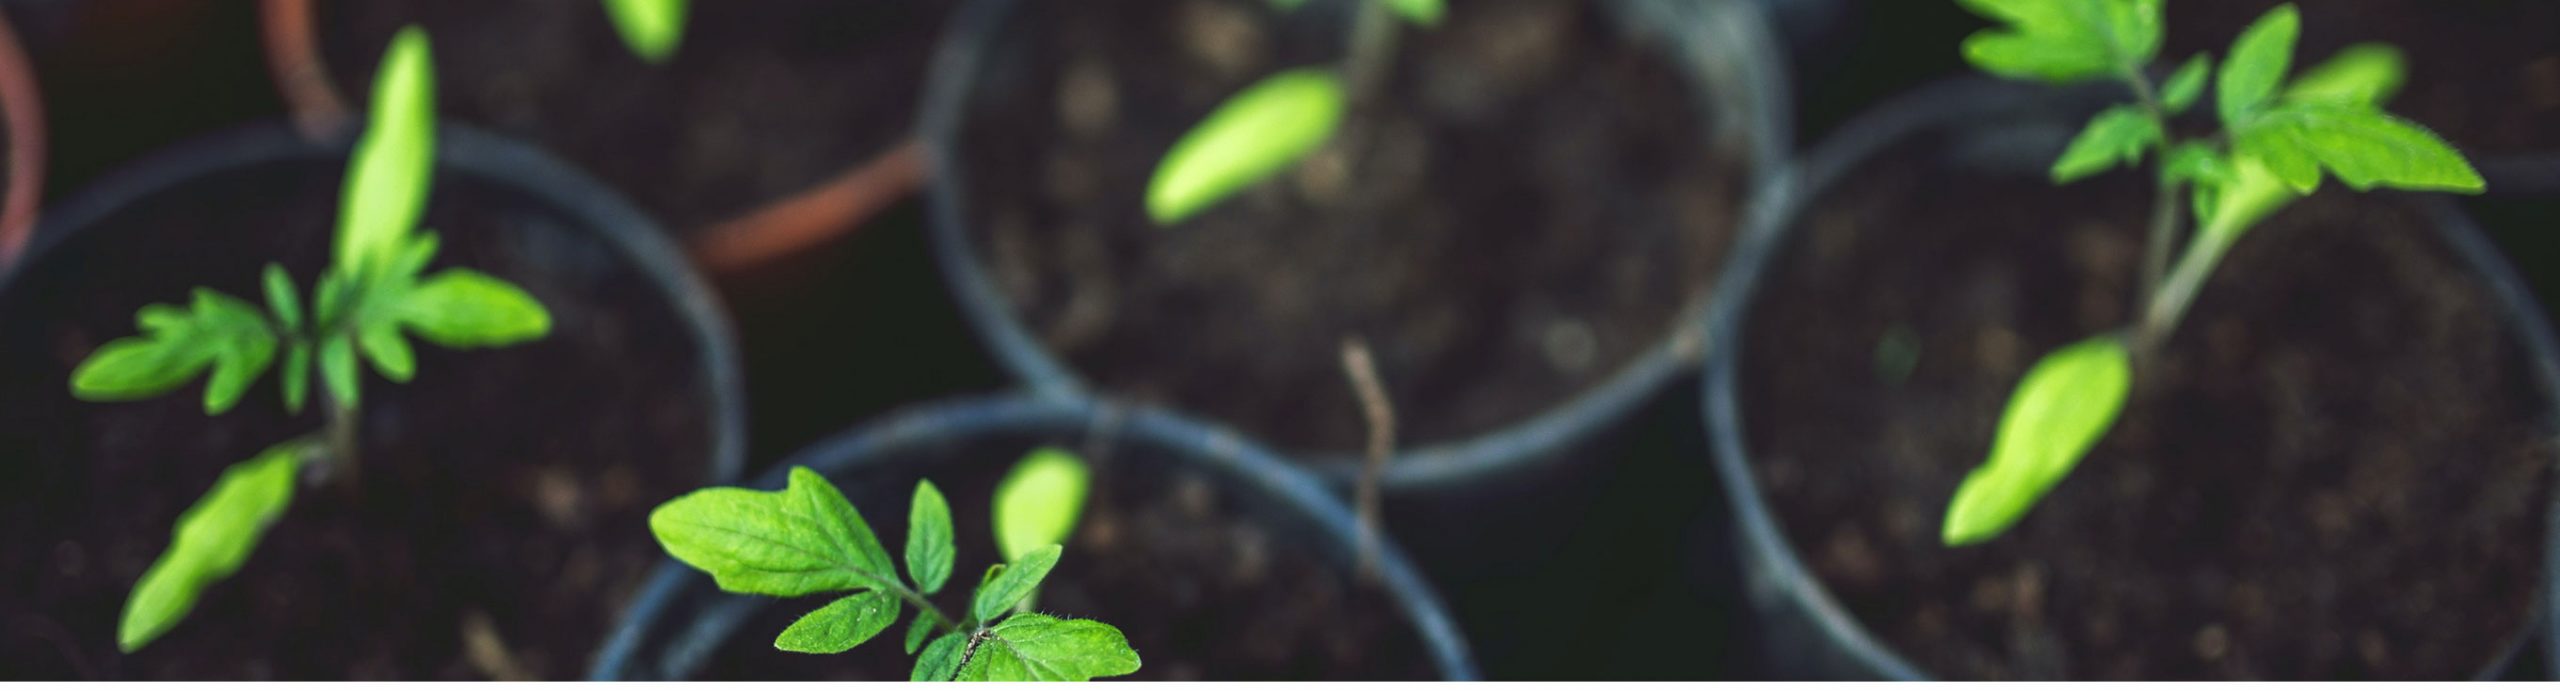
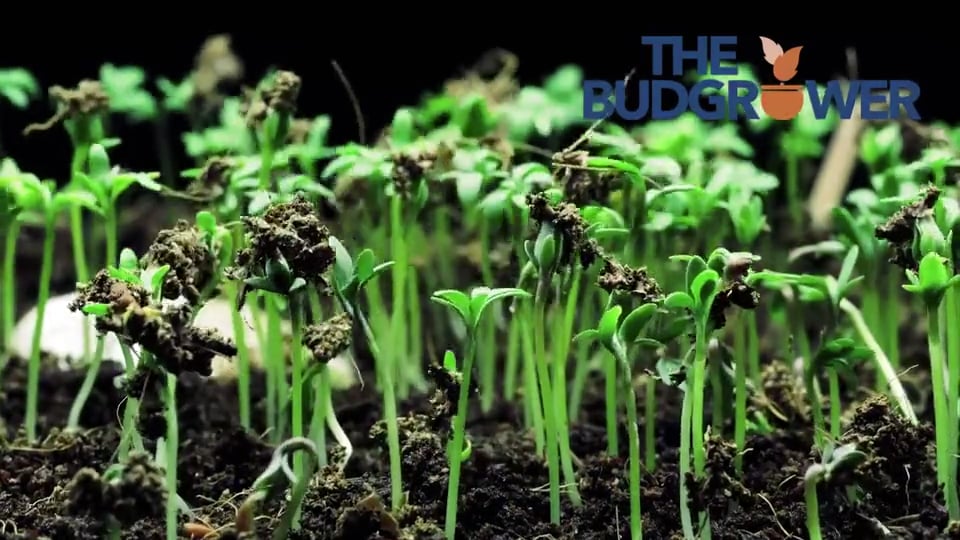
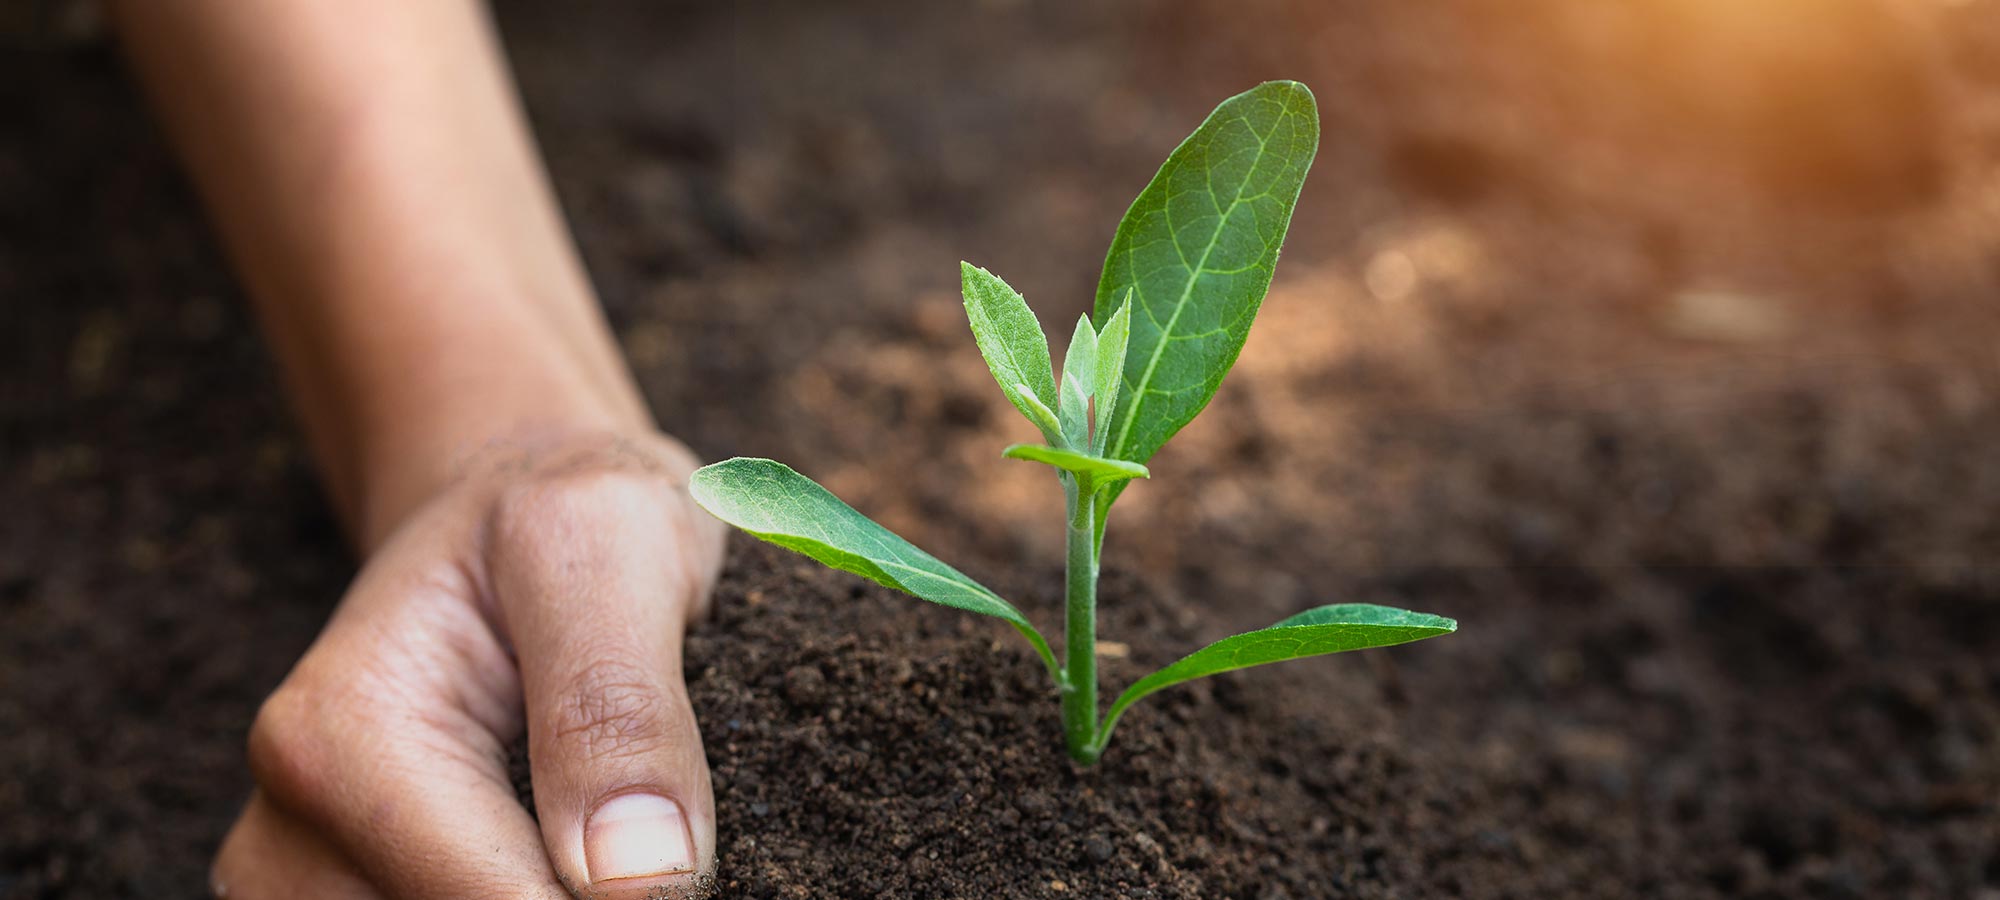
The Grow Process: Germination
Germinating seeds is the very first step (aside from obtaining them) to growing at home. It can also be a nice practice of patience. Before you get to the big beefy buds that you are looking for, you need to start small. How small? Well, how about the size of a seed?
Germination helps your seeds sprout the necessary roots to gain nutrients. By utilizing this method, you will be able to grow bountiful crops in no time.
There are a number of ways a person can germinate their seeds. The most common way to germinate is by keeping them in a glass of room temperature water.
Germinating Seeds In A Glass Of Water
There are many different approaches, but I feel the above approach works well as the above images are taken from a grow using our kit. When setting up your grow to make sure you use the best possible quality of seed. Always purchase from a reputable source and keep the strain of seed simple for your first grow.
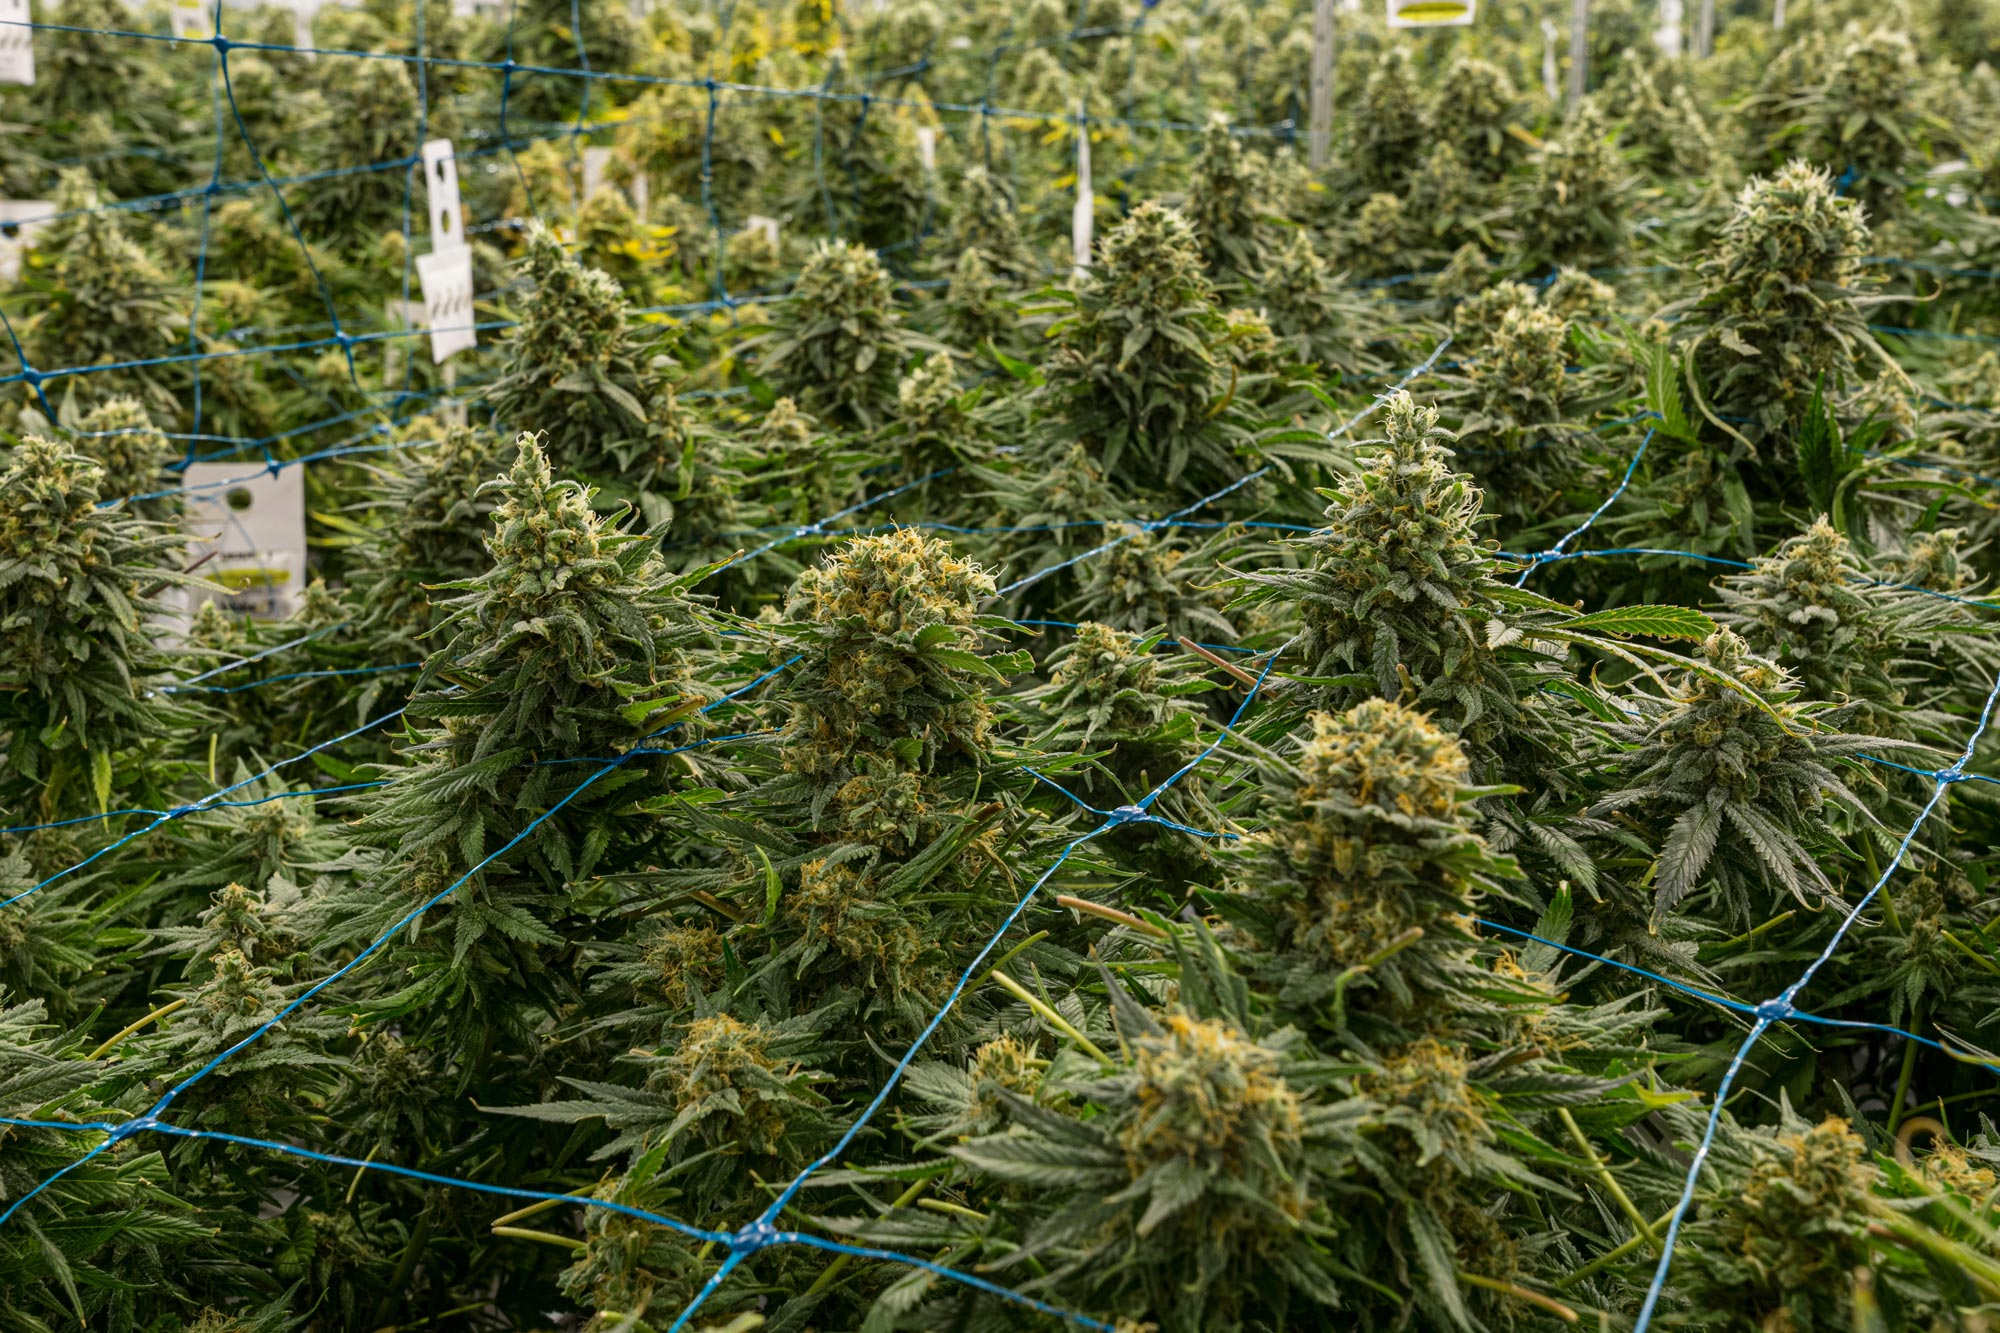
Our recommendation is to grow an auto blooming and high-yield/low maintenance seeds like Northern Lights (For the below grow we are using a good quality Northern Lights seed!)
Germinating these seeds typically take 2-10 days. Depending on the seeds and the strains, this could even take longer.
The first time I germinated seeds I had results within 2 days. The second time that I tried this, I waited over a week. Both times I used the glass of water method and despite the wait times between each one, I was satisfied with the results.
All you need to do is simply take a regular glass from your kitchen, fill it with room temperature water and let it sit in a warm (but dark) place until you see the tail of the seed start poking out.
That’s it.
Once that is finished you can take the seed and place them in your rapid rooter.


