For many longtime growers – there has been a time of learning through trial and error. Kits weren’t as available and, for the most part, buying all the products at once at my local hardware store set off alarms. The first time I did this – it was relatively obvious to the cashier what I was doing – which made me paranoid the entire time. The second issue was utilizing my space to do this. I lived in a relatively small apartment and didn’t want the smell to build up – thus creating issues with my neighbors. Once I had everything set up, then began the process of germinating. I let them sit in a glass of water for approximately 2 days – until the tail popped out of the seed. From there, my thought process was “well – if it’s not going wrong yet – then I can do the next step.”
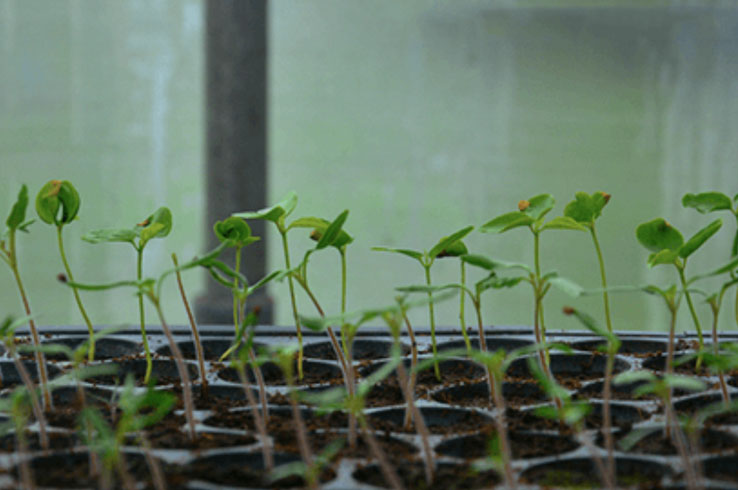
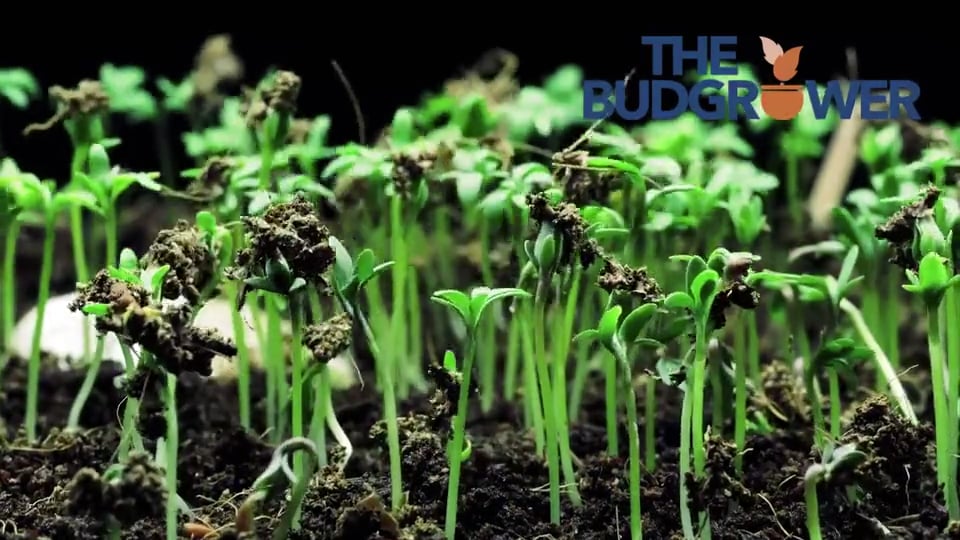
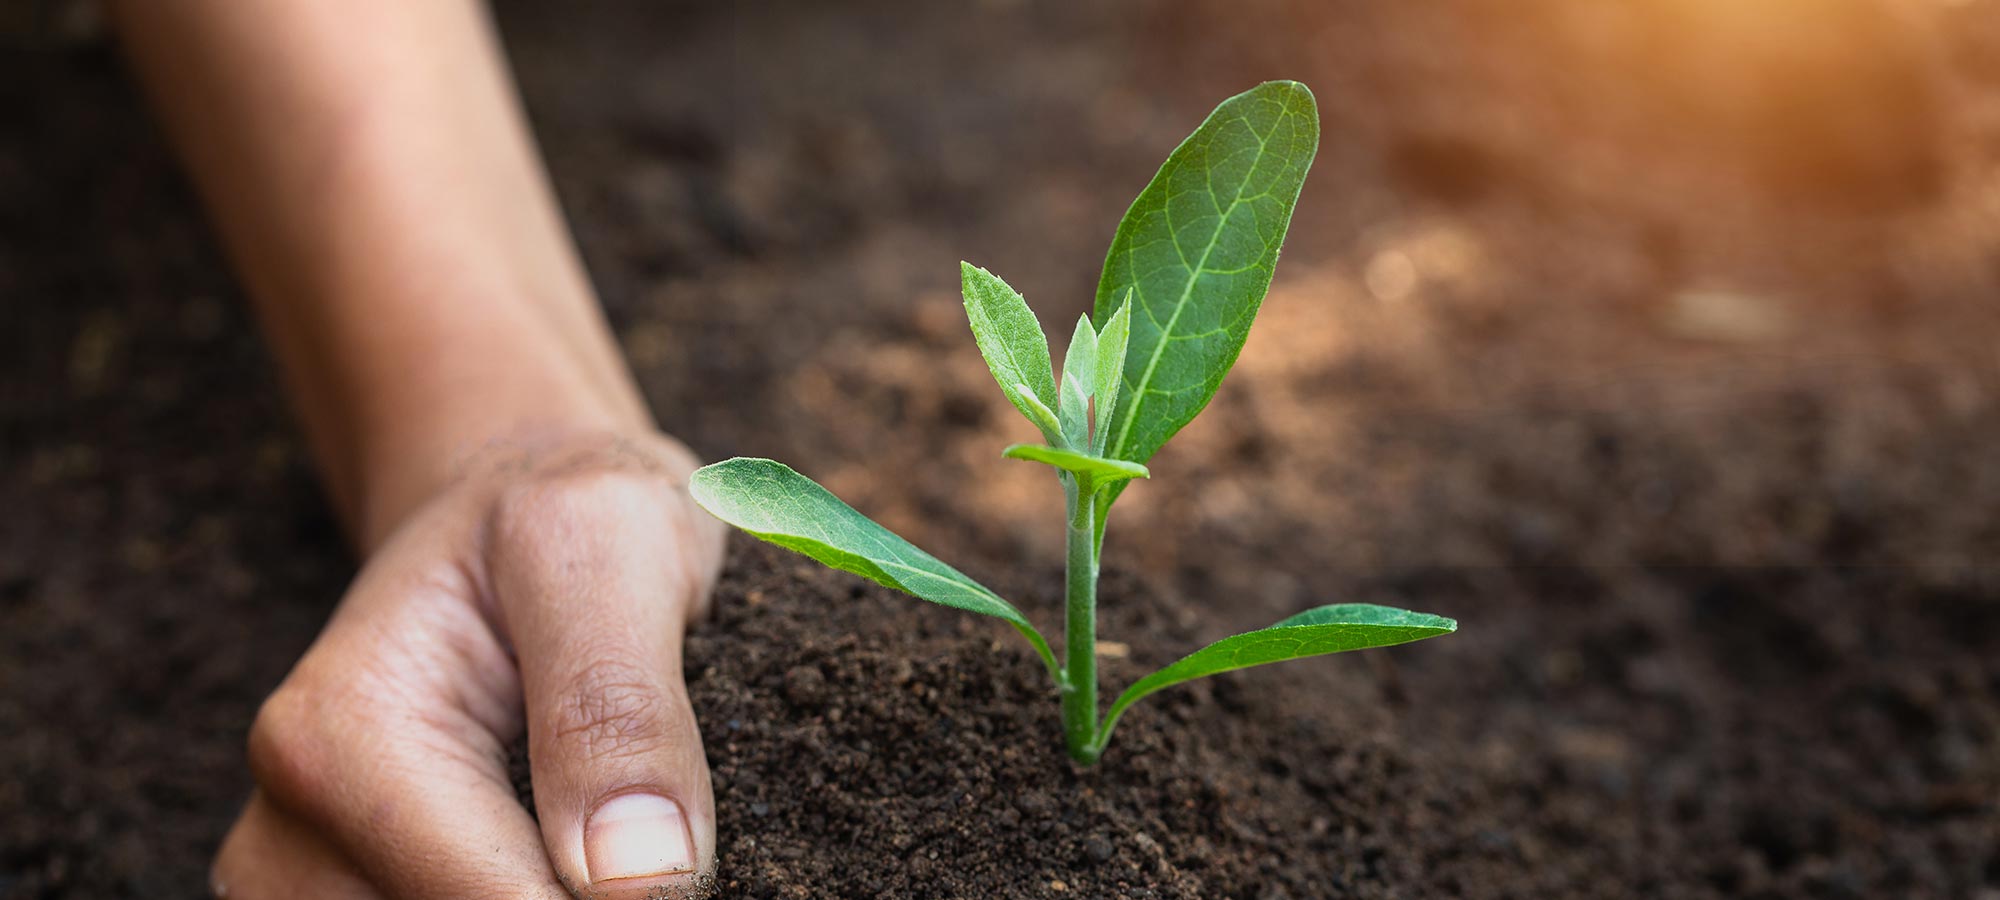
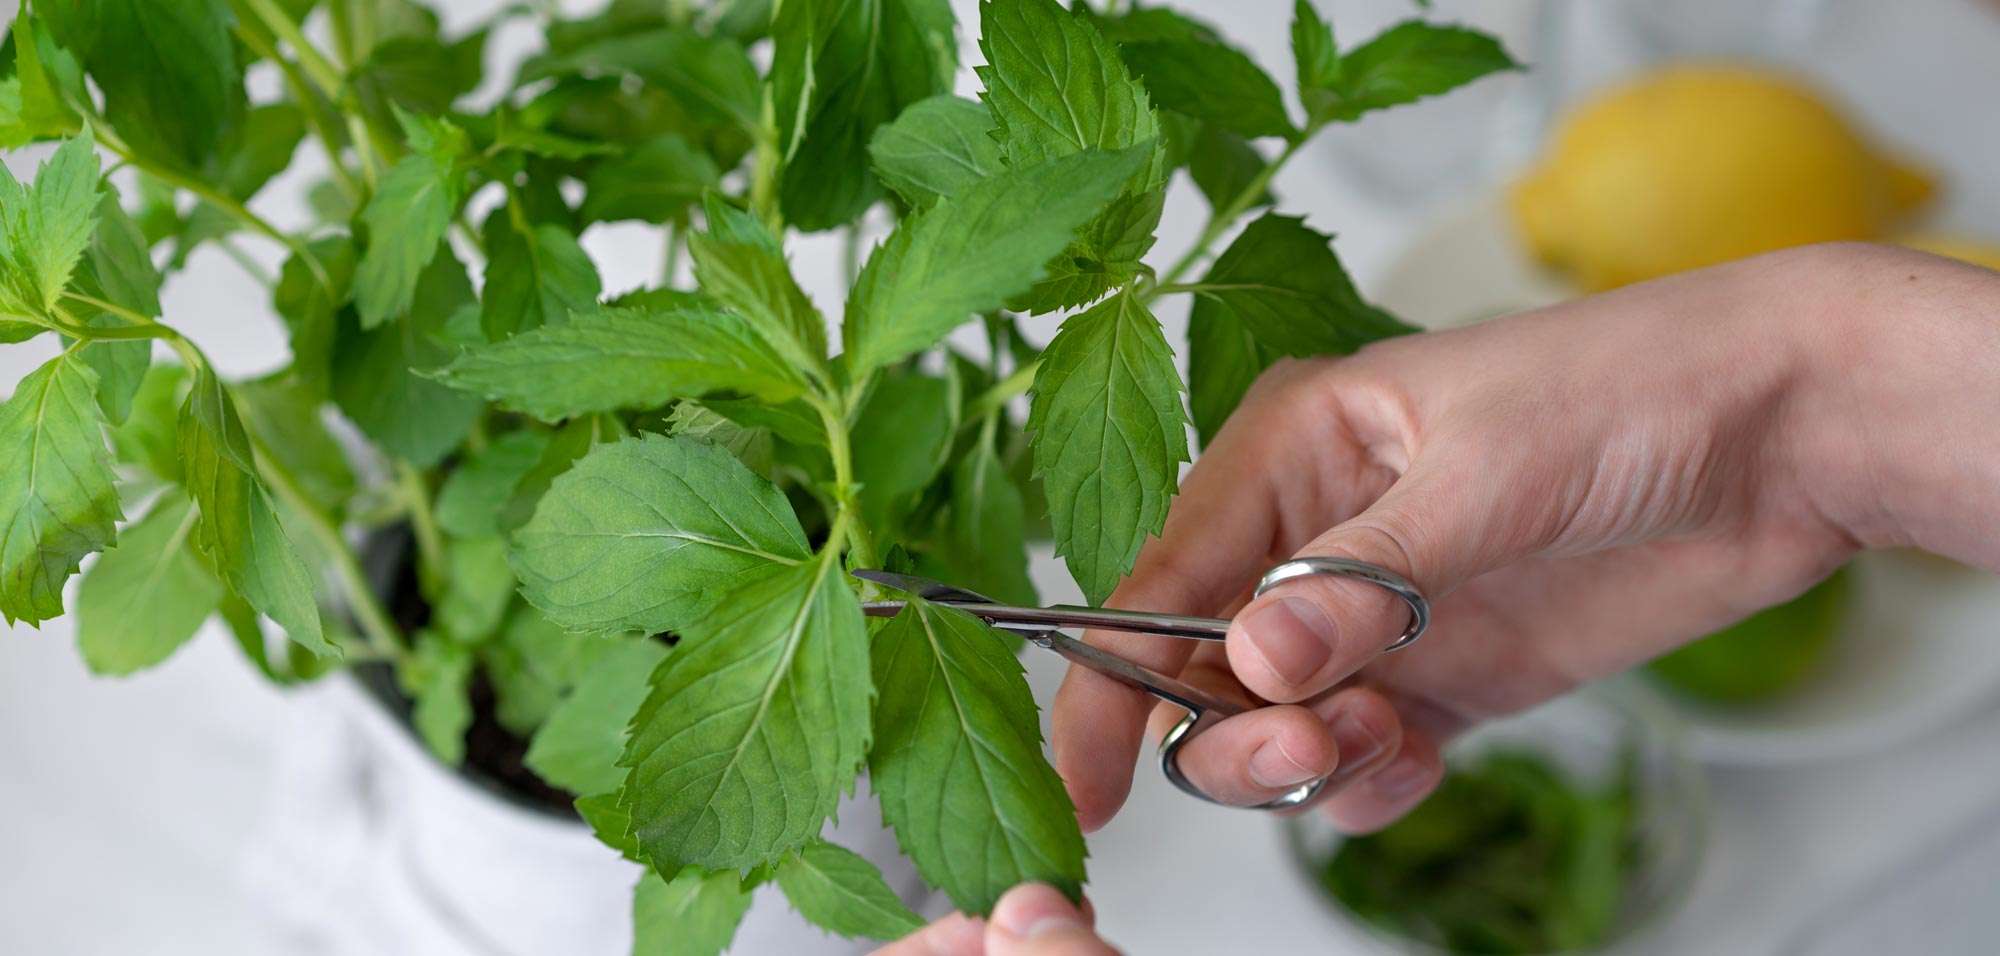
Planting your newly sprouted seeds is a relatively simple task. You have fully germinated them, meaning their tail is now prominent and they are ready to be planted.
There are a number of ways to do this process – each one is right. For beginners, we have put together a list of steps to ensure that your seeds are grown with the best possible care. This article is meant for growers who are just starting and learning the ropes! Our kits provide our own rapid rooters.
Planting Seeds Properly Step 1. Letting the rapid rooter sit in water. Time: Aprx 2-24 Hours
I know this seems weird but there is no general consensus on letting your rooter soak for longer periods of time. I have tried it both ways and have not necessarily seen a decline in results whichever way I choose. You can do either one. Simply leave your rooters in a bowl of water to soak them. Once you decide that they are ready, take them out.
Step 2: Inserting The Seed
Some people simply put the seed – tail down and call it a day. There is a slight technique that I learned with using the rooters. I take a chopstick or a cleaned pen and insert it into the hole to widen it. This gives you the right depth for the seed without risking damaging the tail by pushing it in.
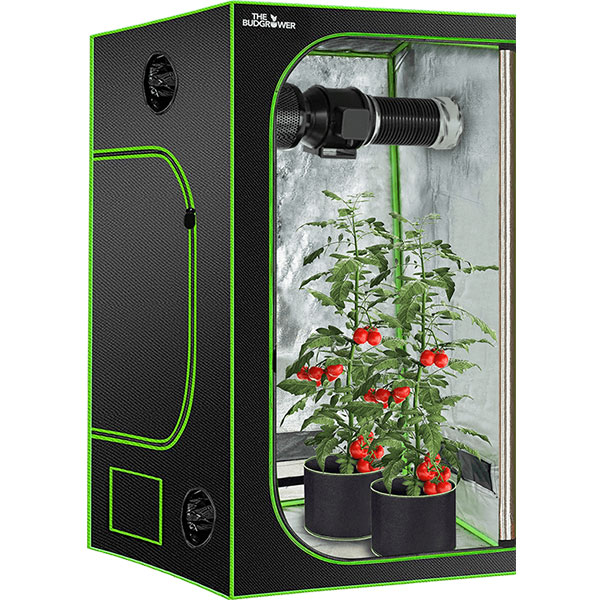
Once the seed is gently placed into the rooter, you’re almost done. I take my grow dome. filled it with about half an inch of water, then placed my rooter inside.
Optimal Environment:
I keep my tent at approximately 80 degrees. I use a standard HPS light to keep them warm during the colder parts of the night. Humidity levels inside the grow dome rely on how much water is still in the trey. Make sure it doesn’t dry out.
I keep my HPS light on for 24 hours – until the seeds sprout through the top. Then it’s time for moving them to the bigger pot.
For more information, we have a complete guide that you can access here.


